2019 - Gipsy Fortune teller LED dress

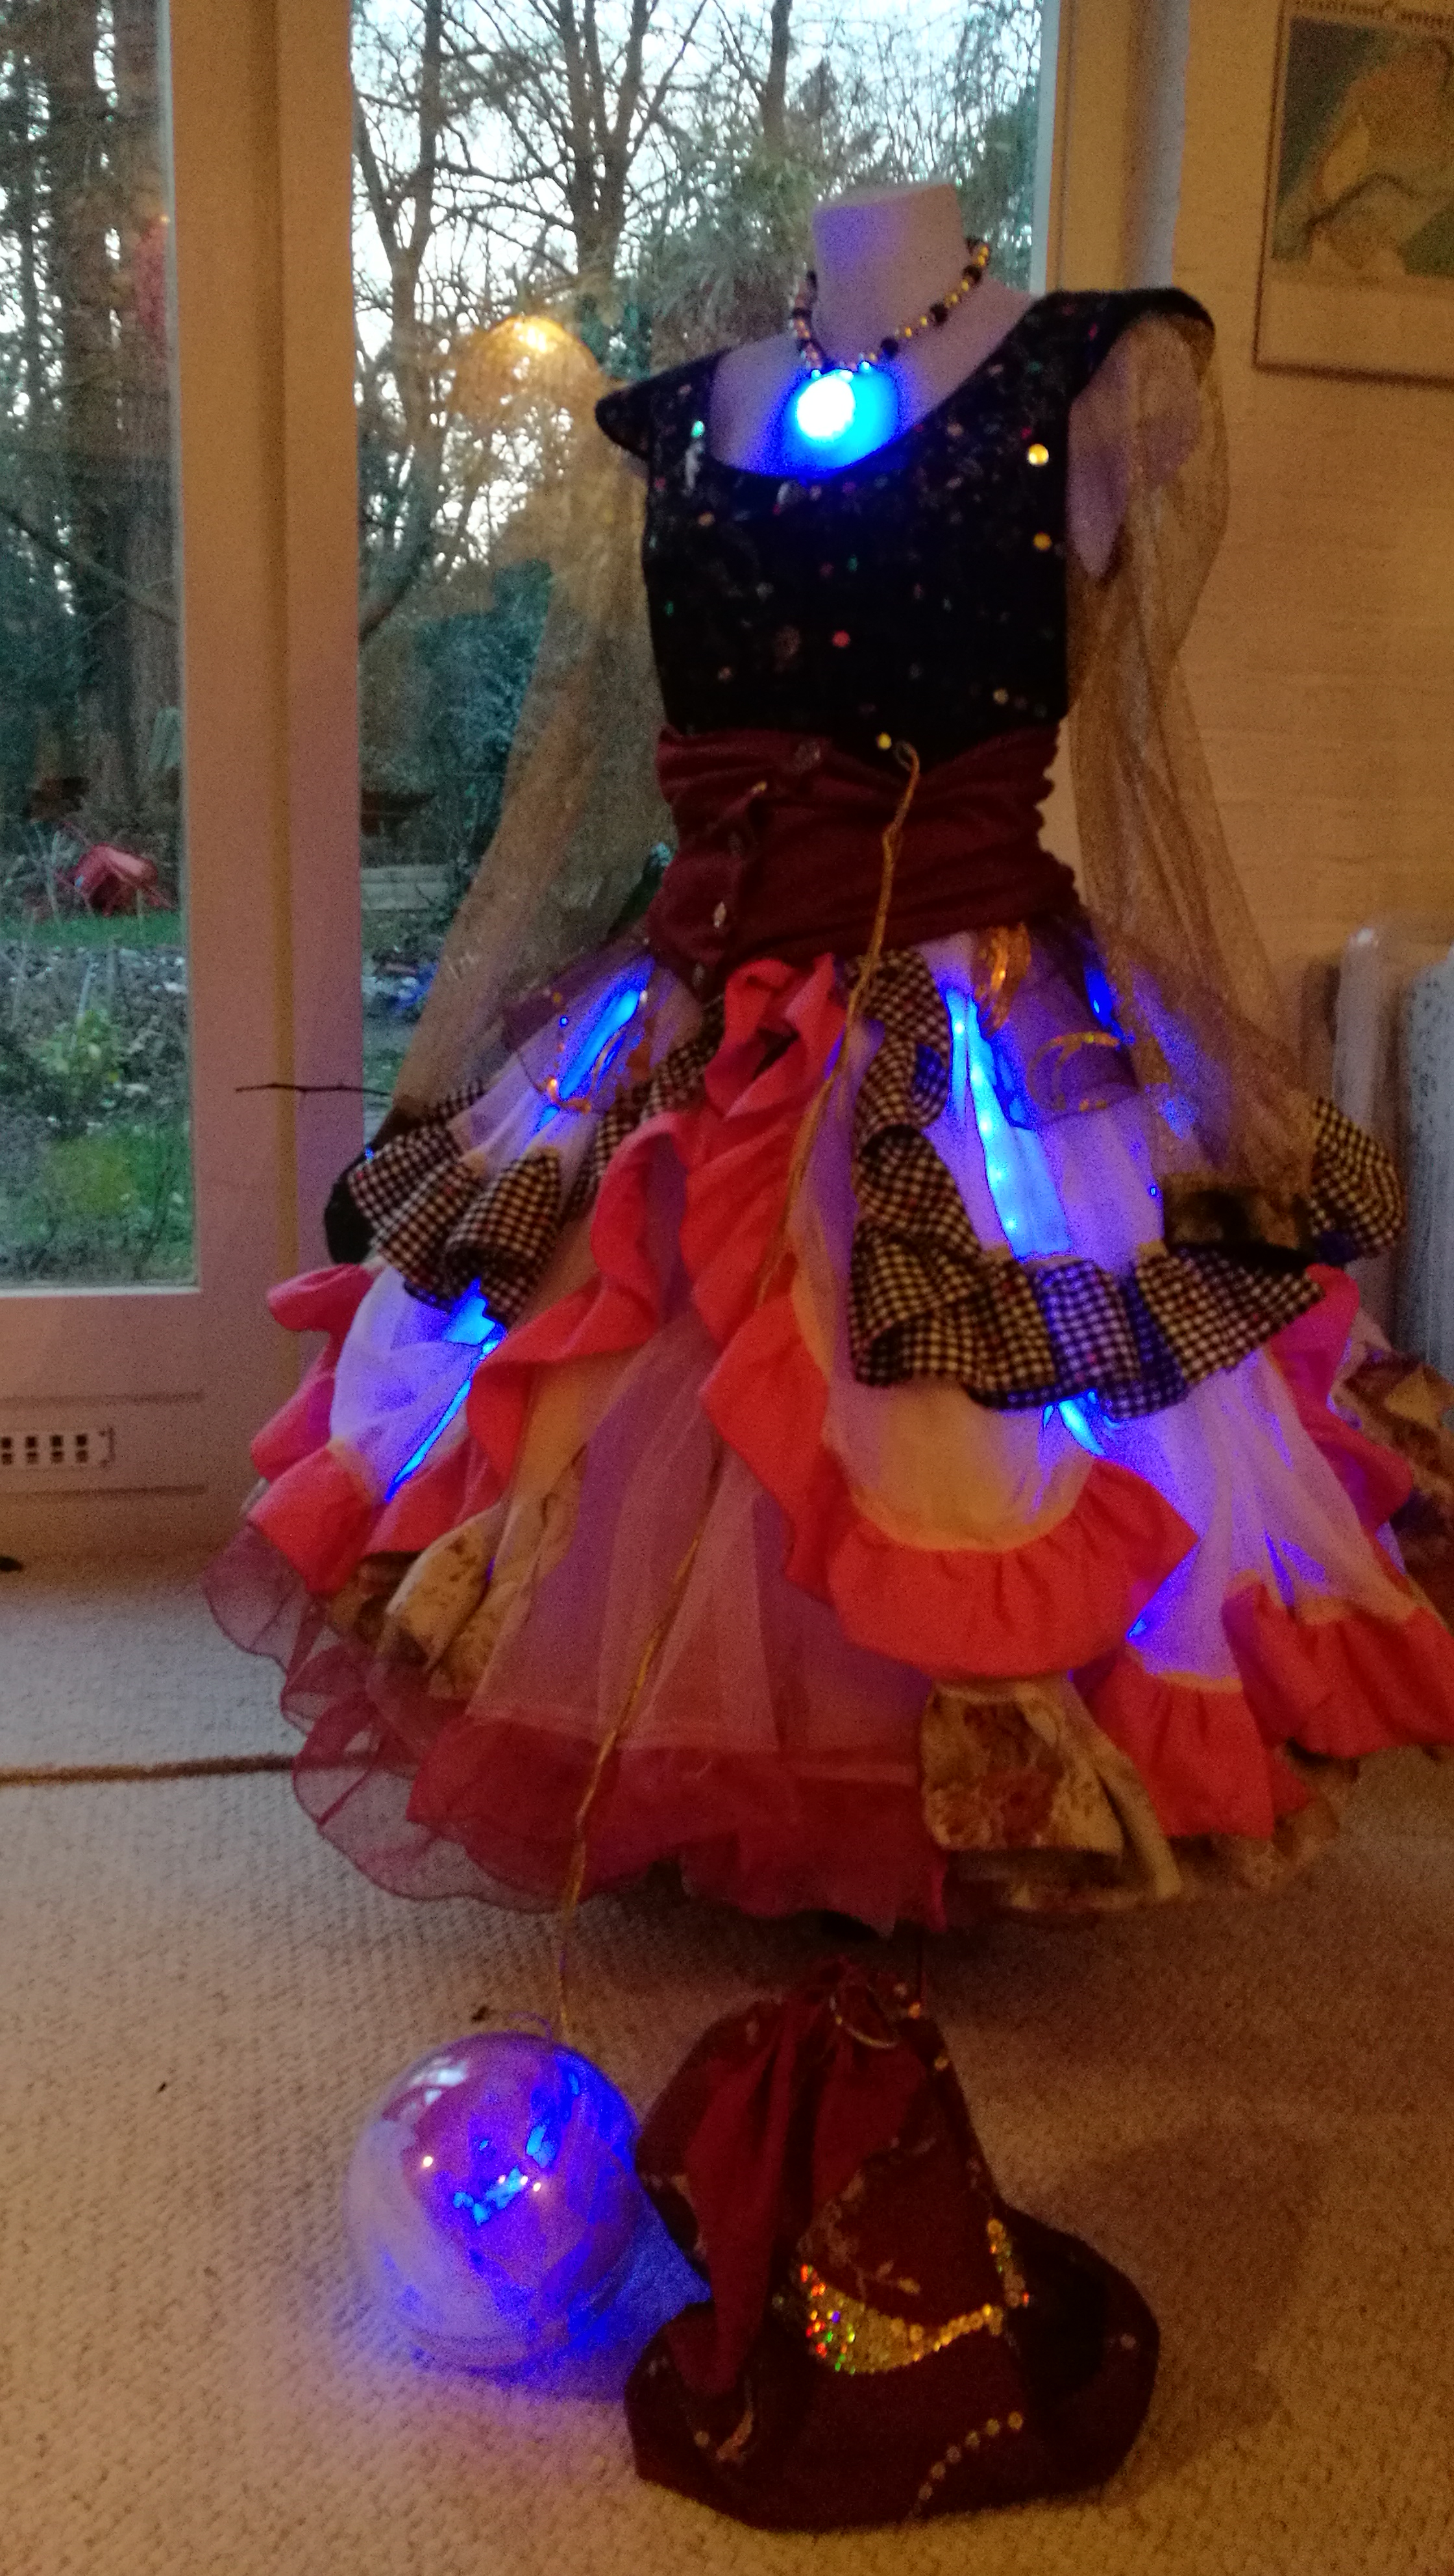
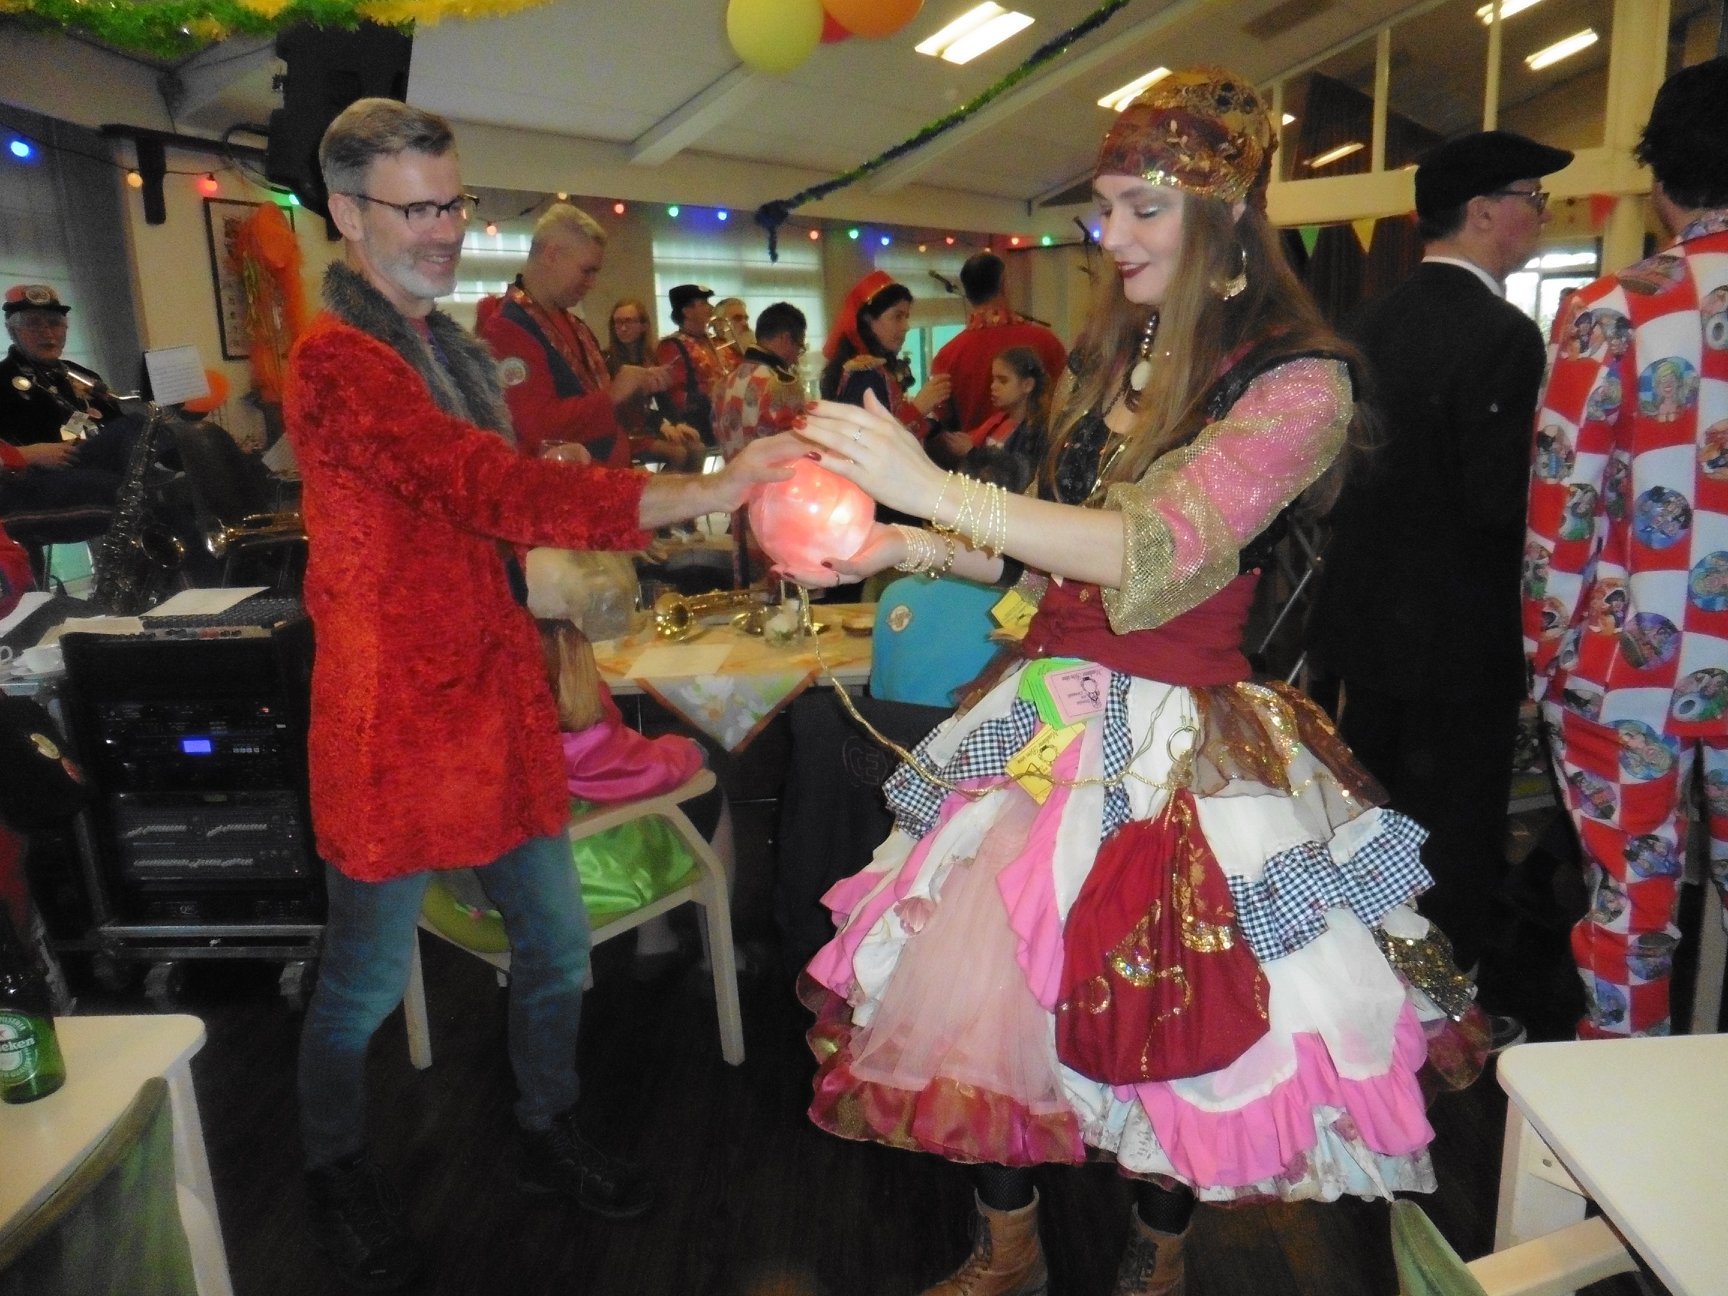
My gipsy fortune teller costume exist out of a dress, crystal ball and a necklace. All enhanced with programable LED lights so the costume will light up with your fortune!
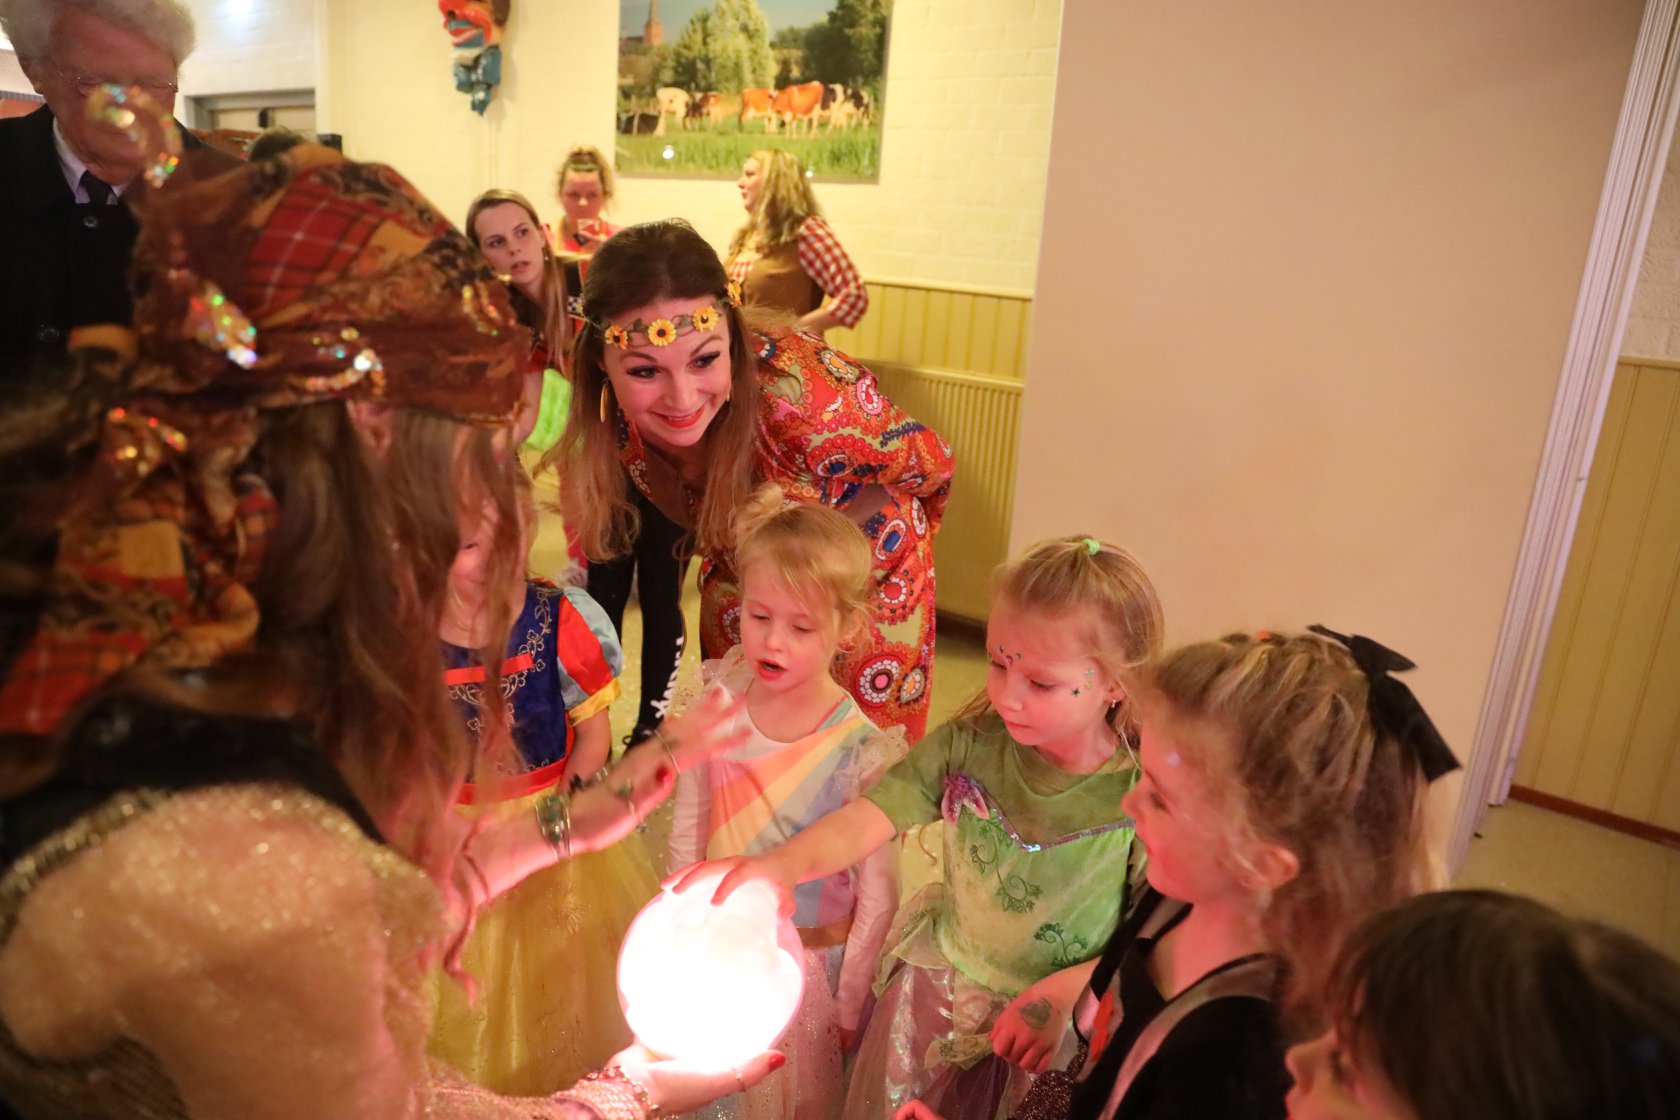
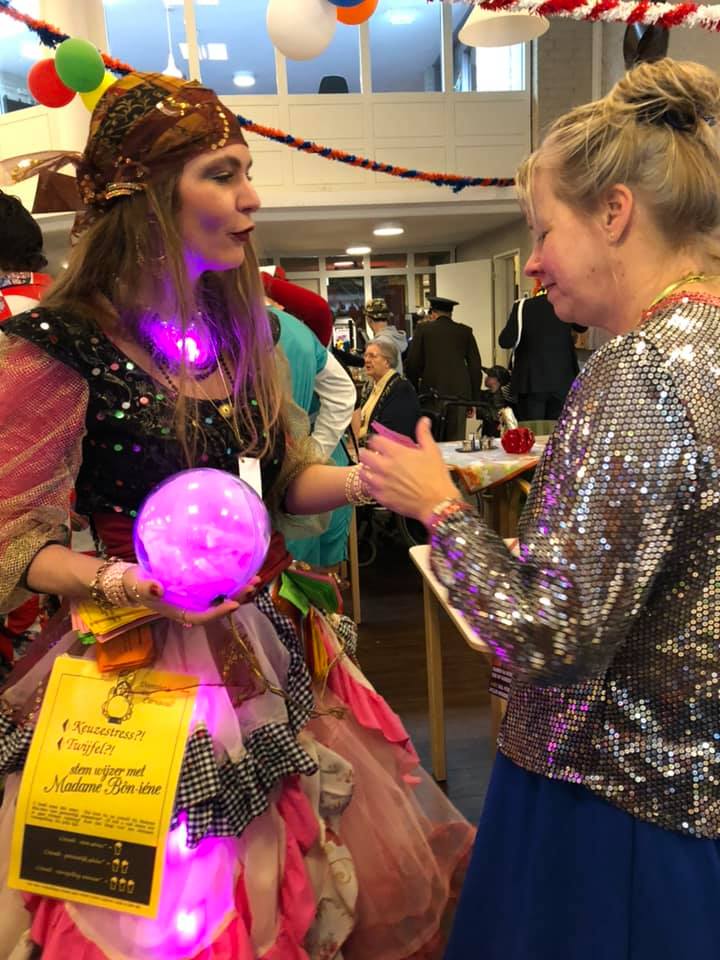
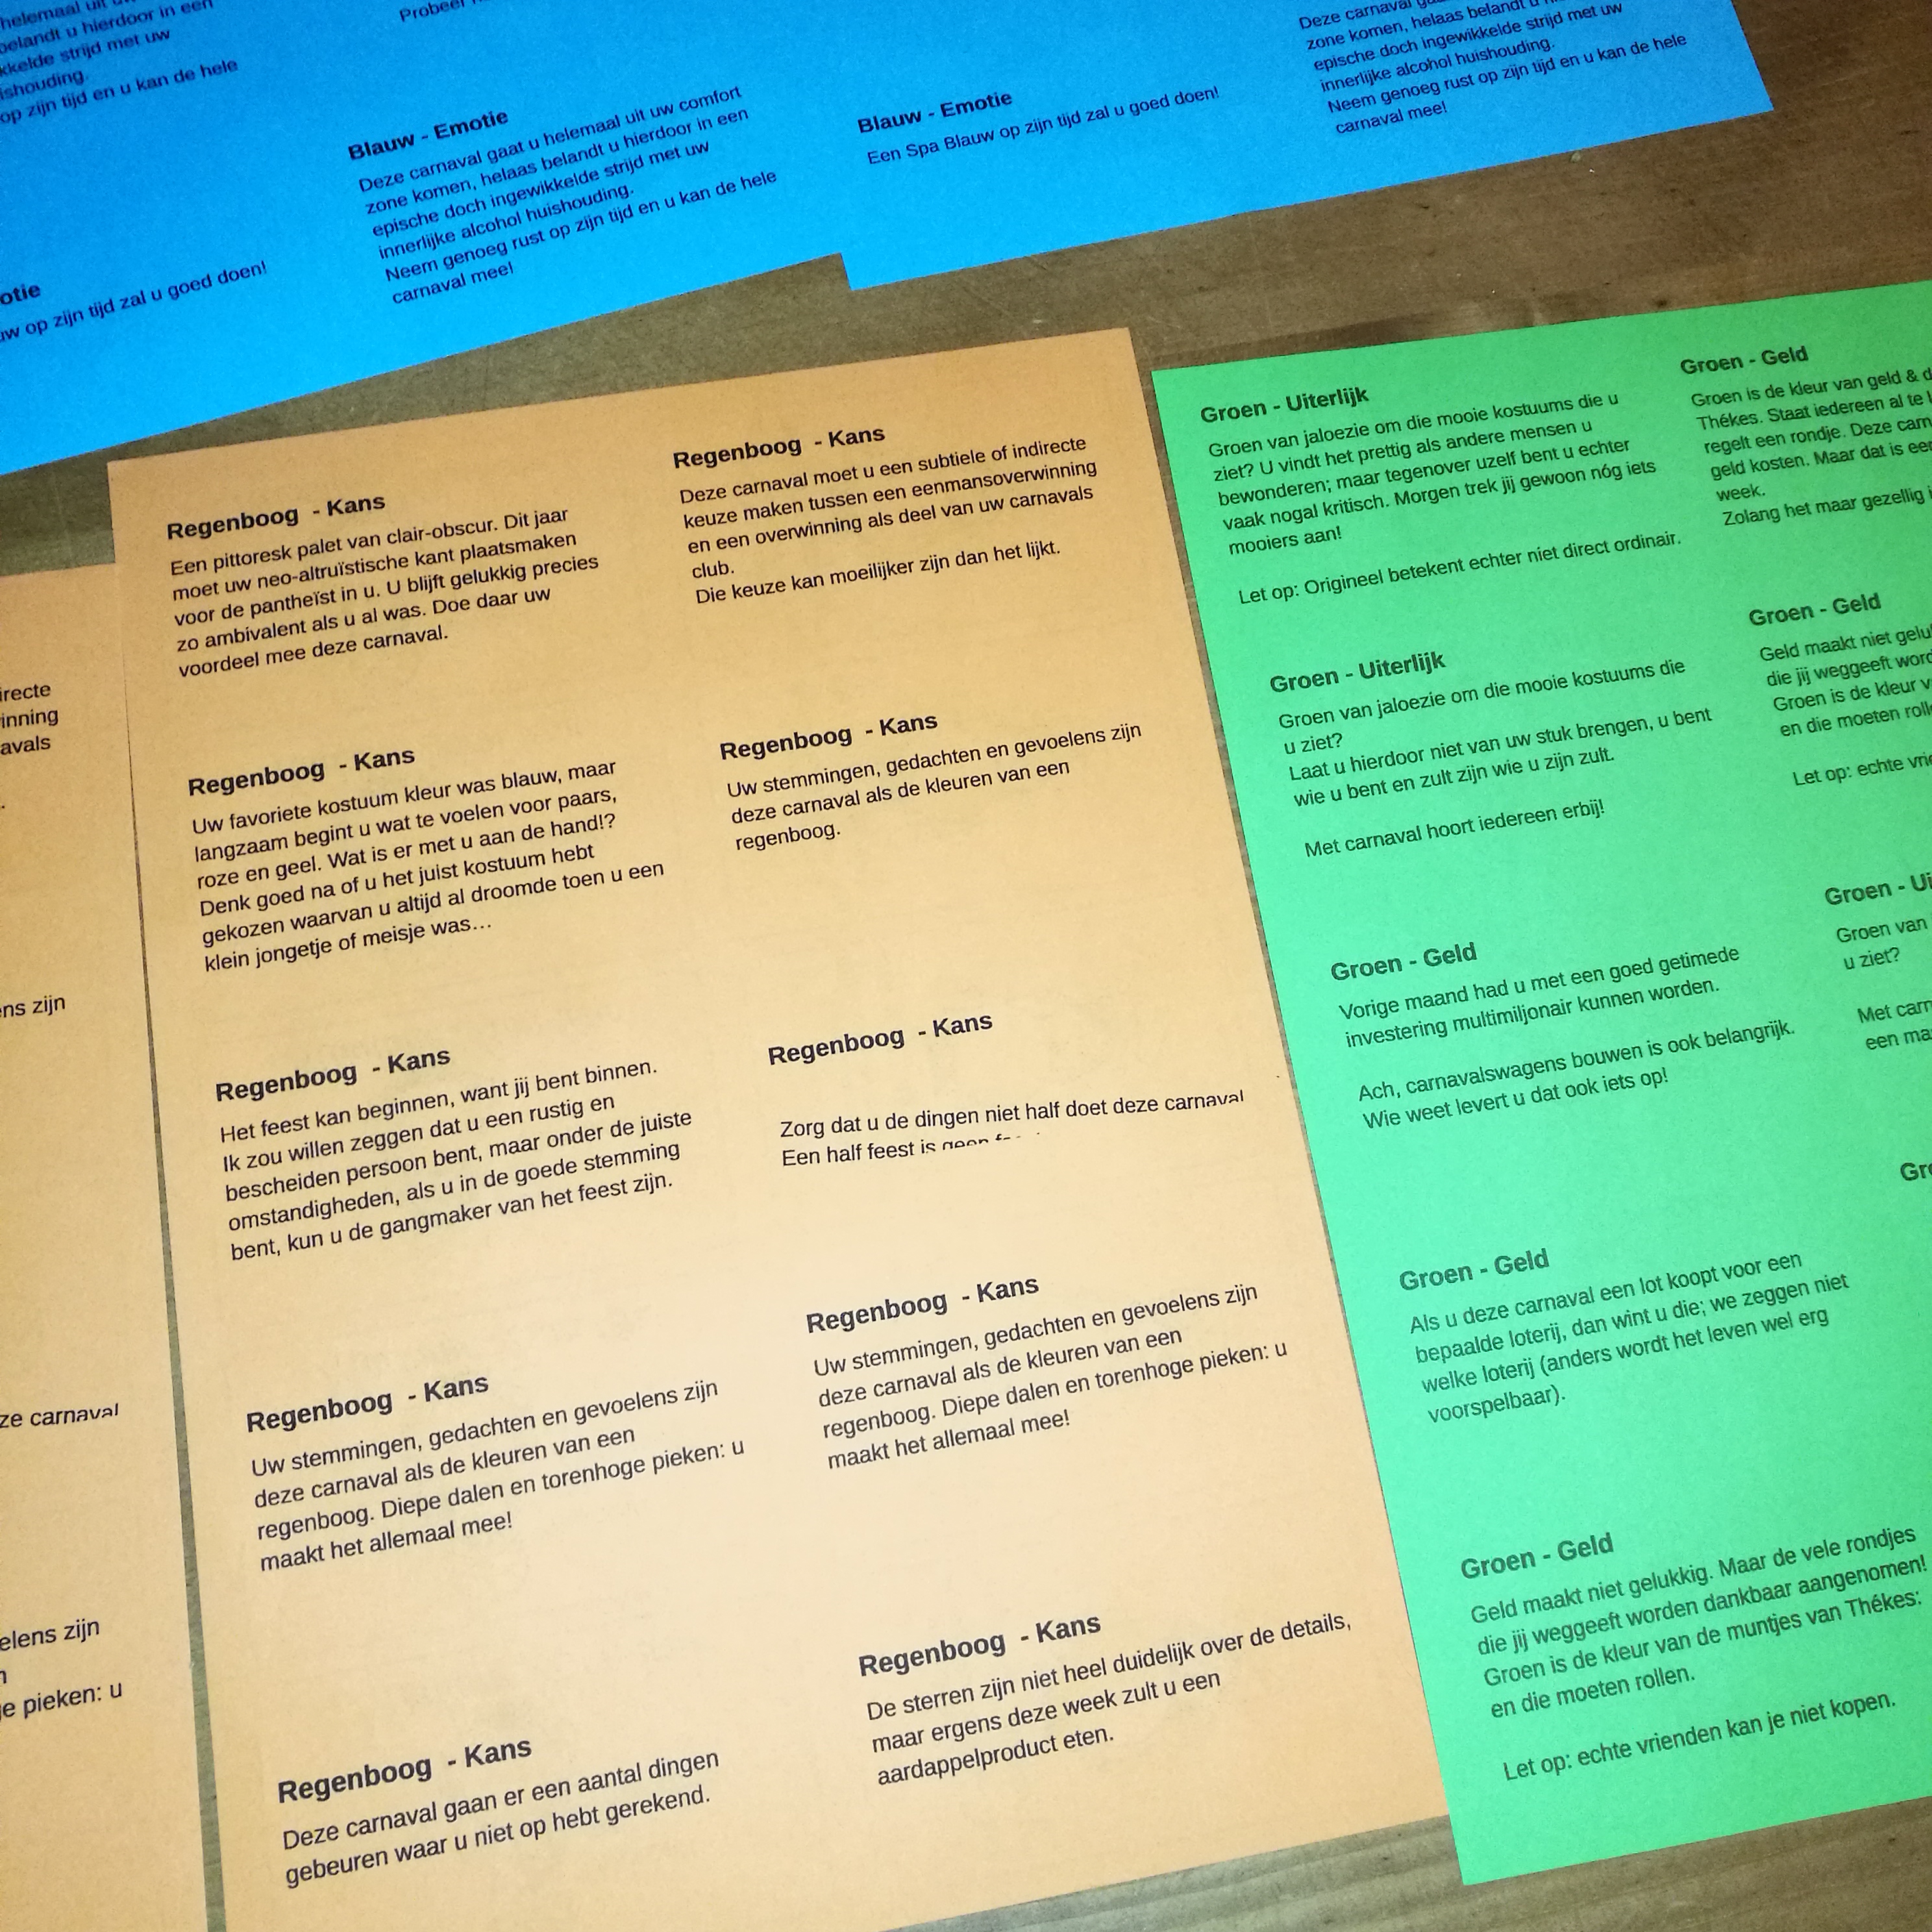
People will be asked to put their hand on the crystal ball in order to tell their fortune. When placing their hand on the ball, it will start glowing 3 times. Then the whole dress, including the ball and necklace will light up with the color of their mood. With the color comes a little card explaining them their fortune.
Of course all made by me. Sewing, soldering, programming. Here I will explain how I got to the idea and show some pictures of the process.

Improving my previous LED dress.
My previous princess dress gave light for one evening. It was robust. Survived from 20:00 till 01:00. At exactly 01:00 when picking up my coat from the gardarobe the RaspberryPi ran out of power and stopped functioning. The LED strips survived a full crowd of people, bumping into me, dancing and drinking lots of beer.
A lot can be improved on my project. Starting with the software; using a RaspberryPi for Neopixel LEDs isn’t the most convenient way to go. Although it did work thanks to Jeremy Garff’s library and I had a python server running with an app on my phone that controlled the LEDs, it was overkill, not very solid or bug free.. I even used a ssh connection on my phone will standing in the pub to fix things on the spot! For the hardware; the cables I used for powering were way to stiff and large, I could have taken thinner cables. I sew on my strips, while using something like velcro tape )(klittenband) would have been more convenient. The power needed for the LED strips was over estimated at the time. So I dragged around too much hardware.
The costume theme was a princess dress and it lacked the kind of small story that a costume makes a good costume. People were amazed by my costume and found it beautiful, but they didn’t “get it”. (and I certainly did not win the best costume price…. ) A princess dress doesn’t give light and there was no interaction for the people to play with the cool functionality itself. It needed something more persuading.
After that evening the dress went into storage. I wrapped a rope around the petticoat with the strips to make it smaller. I moved it several times. So when I picked up the dress after half a year, some strips were broken. Also some LEDs are damaged and I couldn’t get it to work properly again. Time for something new.
The new idea: Gipsy Fortune Teller
I started to take off the strips from the petticoat. Put on the petticoat. Went walking around the house and came to my sewing machine again. With some left over fabrics I started to transform the skirt into something more like a pirates skirt or.. a gipsy skirt! My head started spinning and before I knew I ordered more LED lights and another micro controller online.
The gipsy fortune teller costume exist out of a dress, fortune crystal ball and a necklace. People will be asked to put their hand on the crystal ball in order to tell their fortune. When placing their hand on the boll, it will start glowing 3 times and then the whole dress including the ball and necklace will light up with the color of their mood. With the color comes a little card explaining them their fortune.
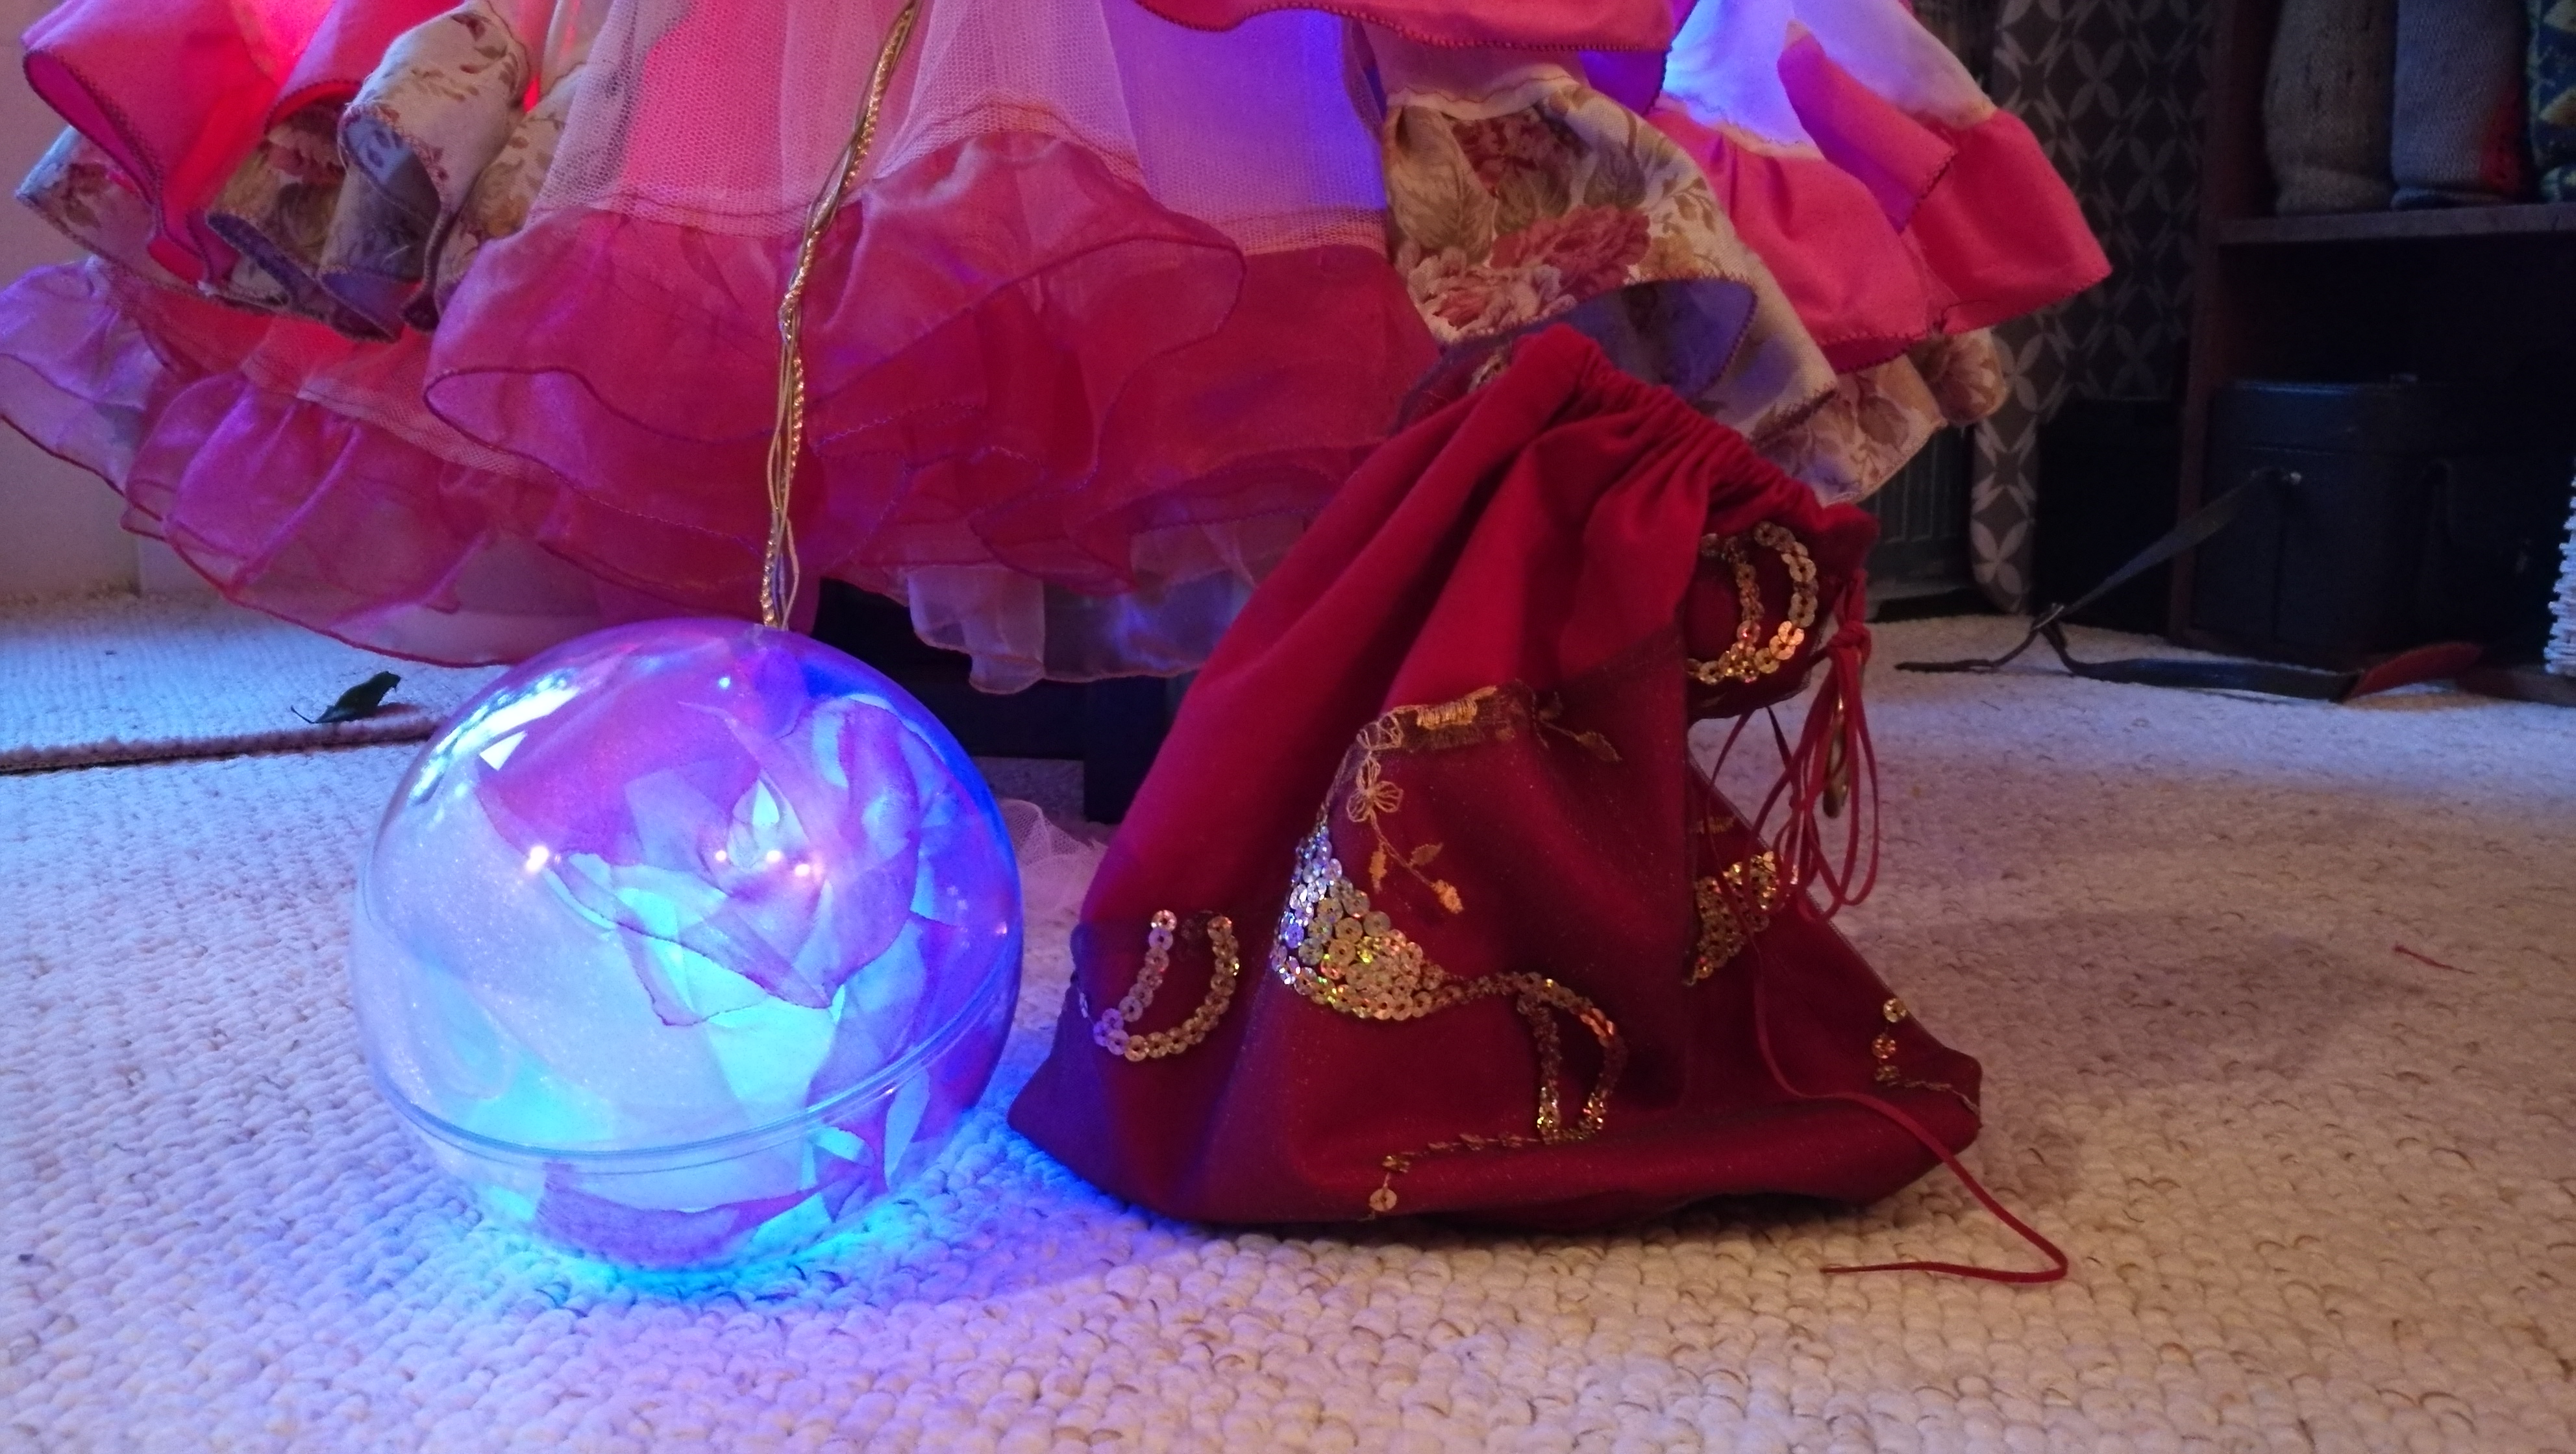
Sewing a little bag from left over straps of fabric. So the crystal ball can be safely tucked away some times.
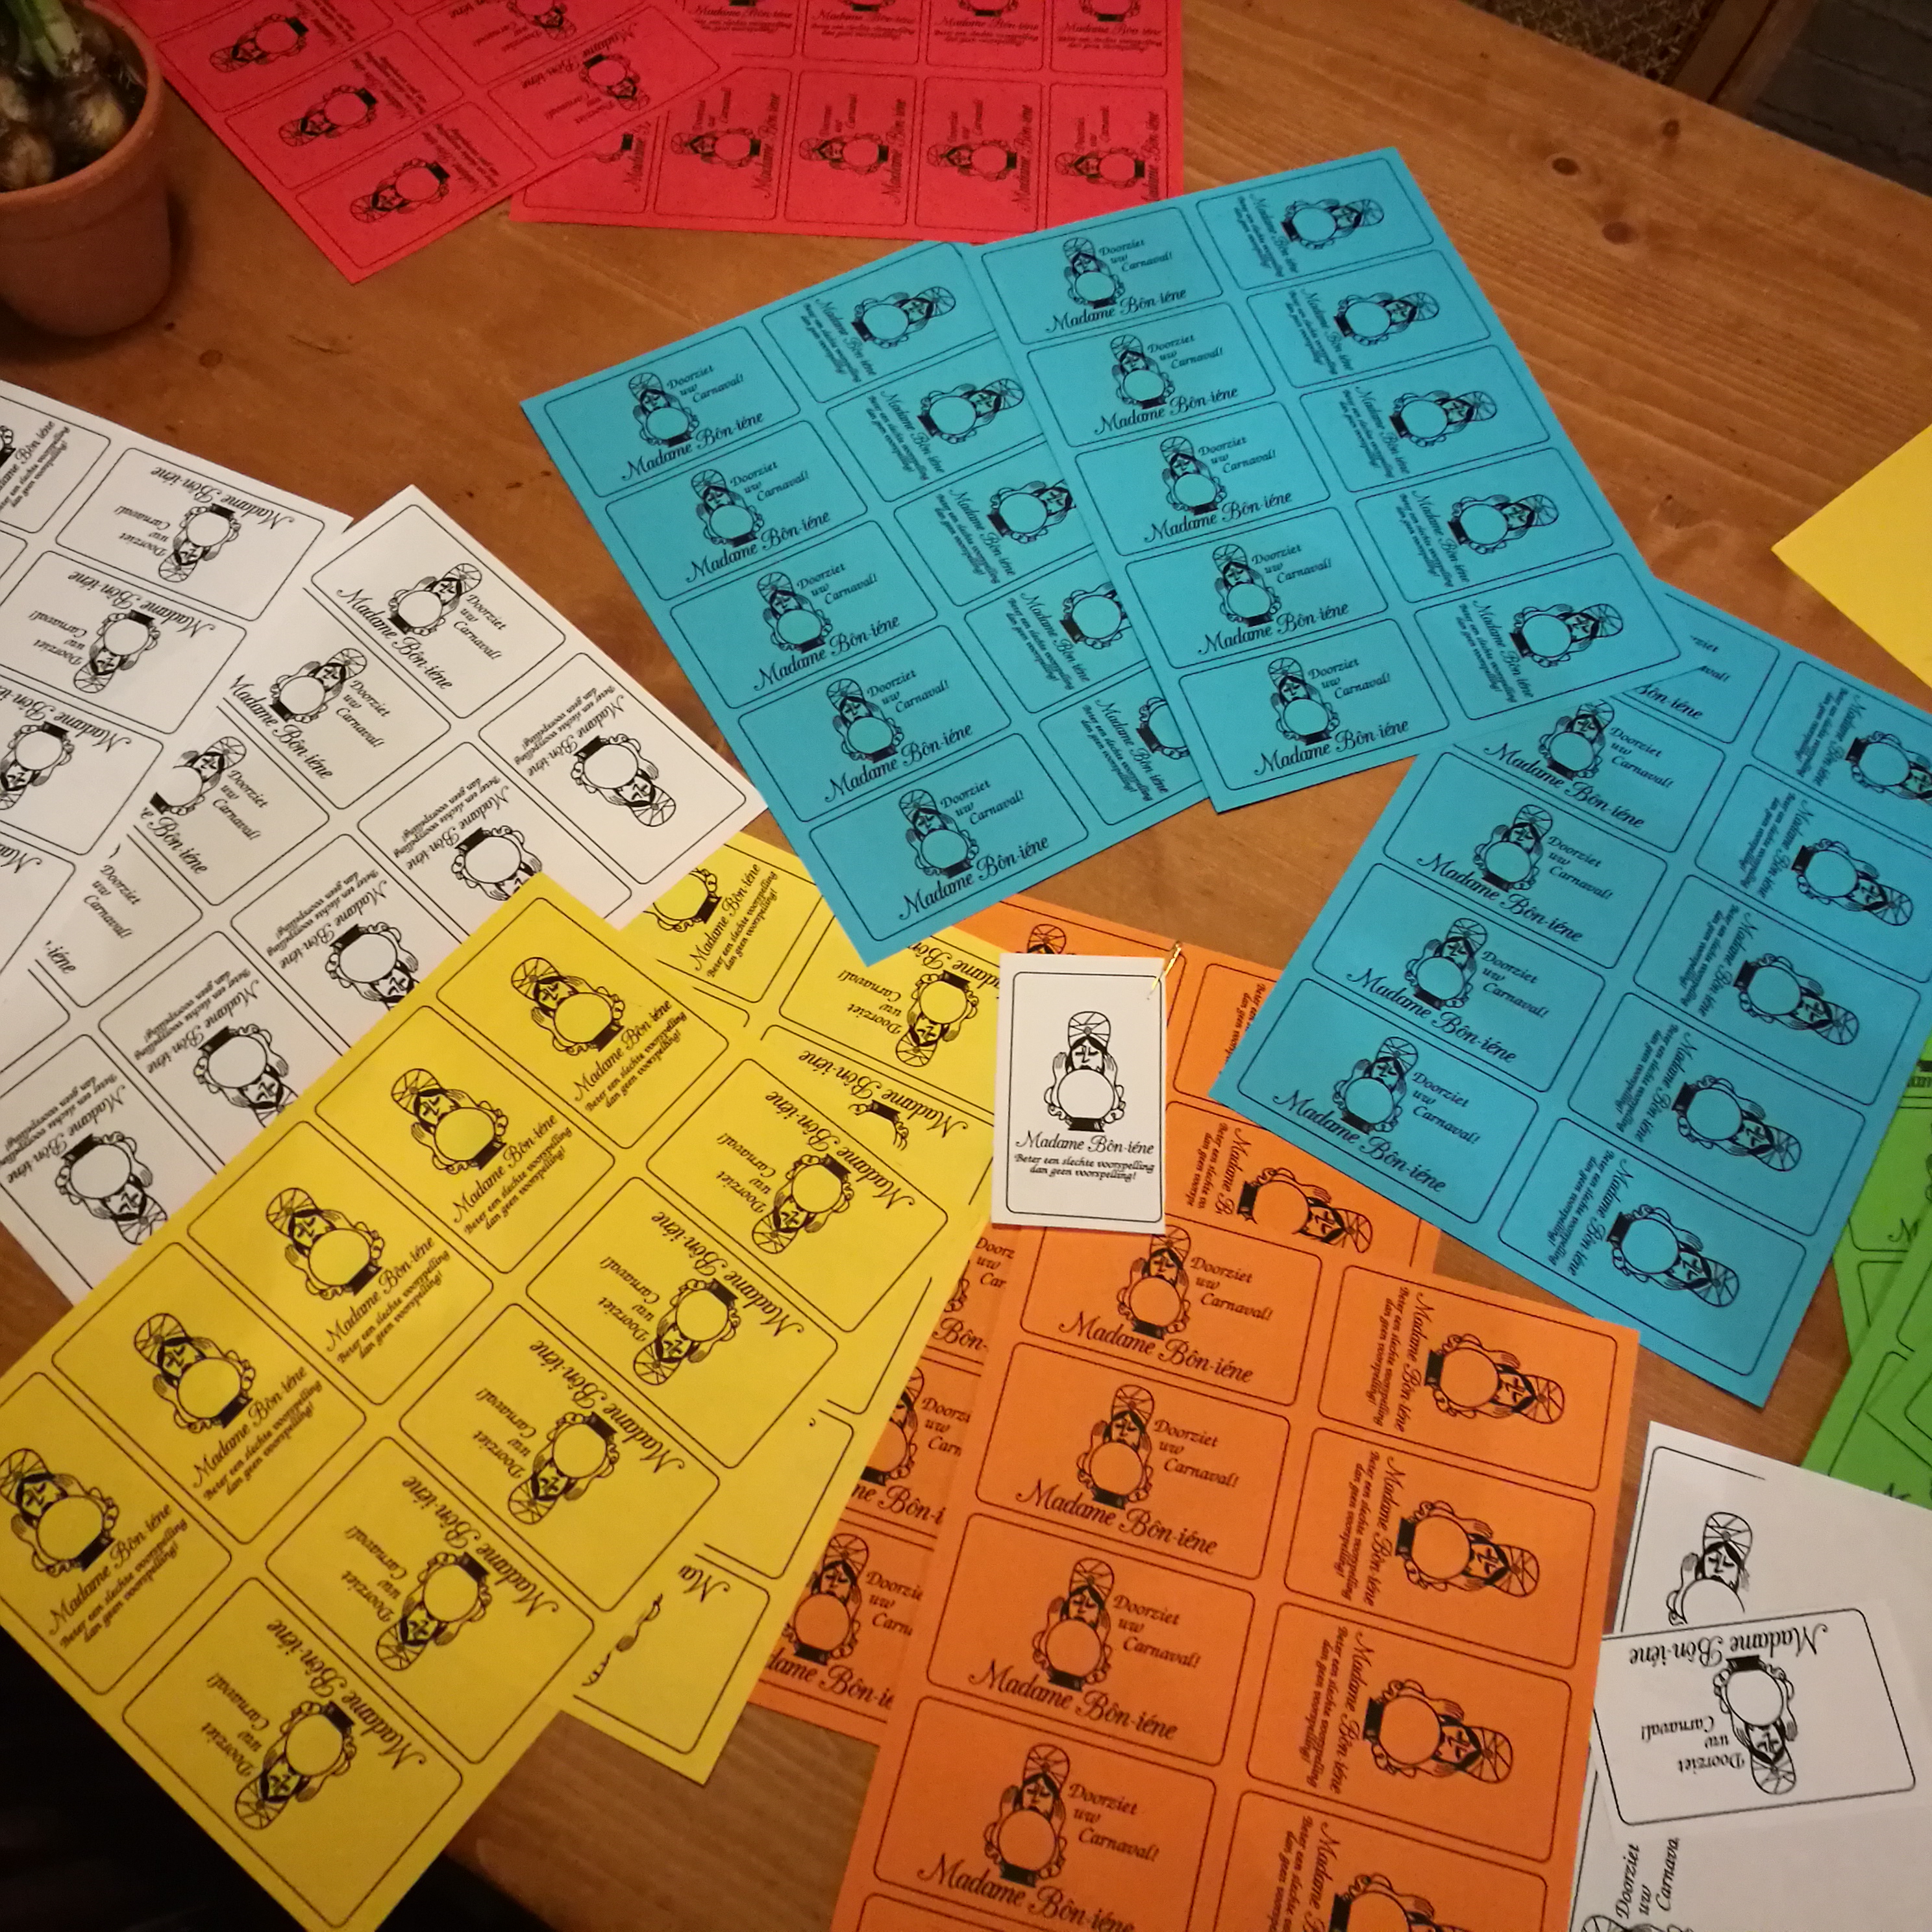
Printing lots of fortune cards! All with a custom spell.
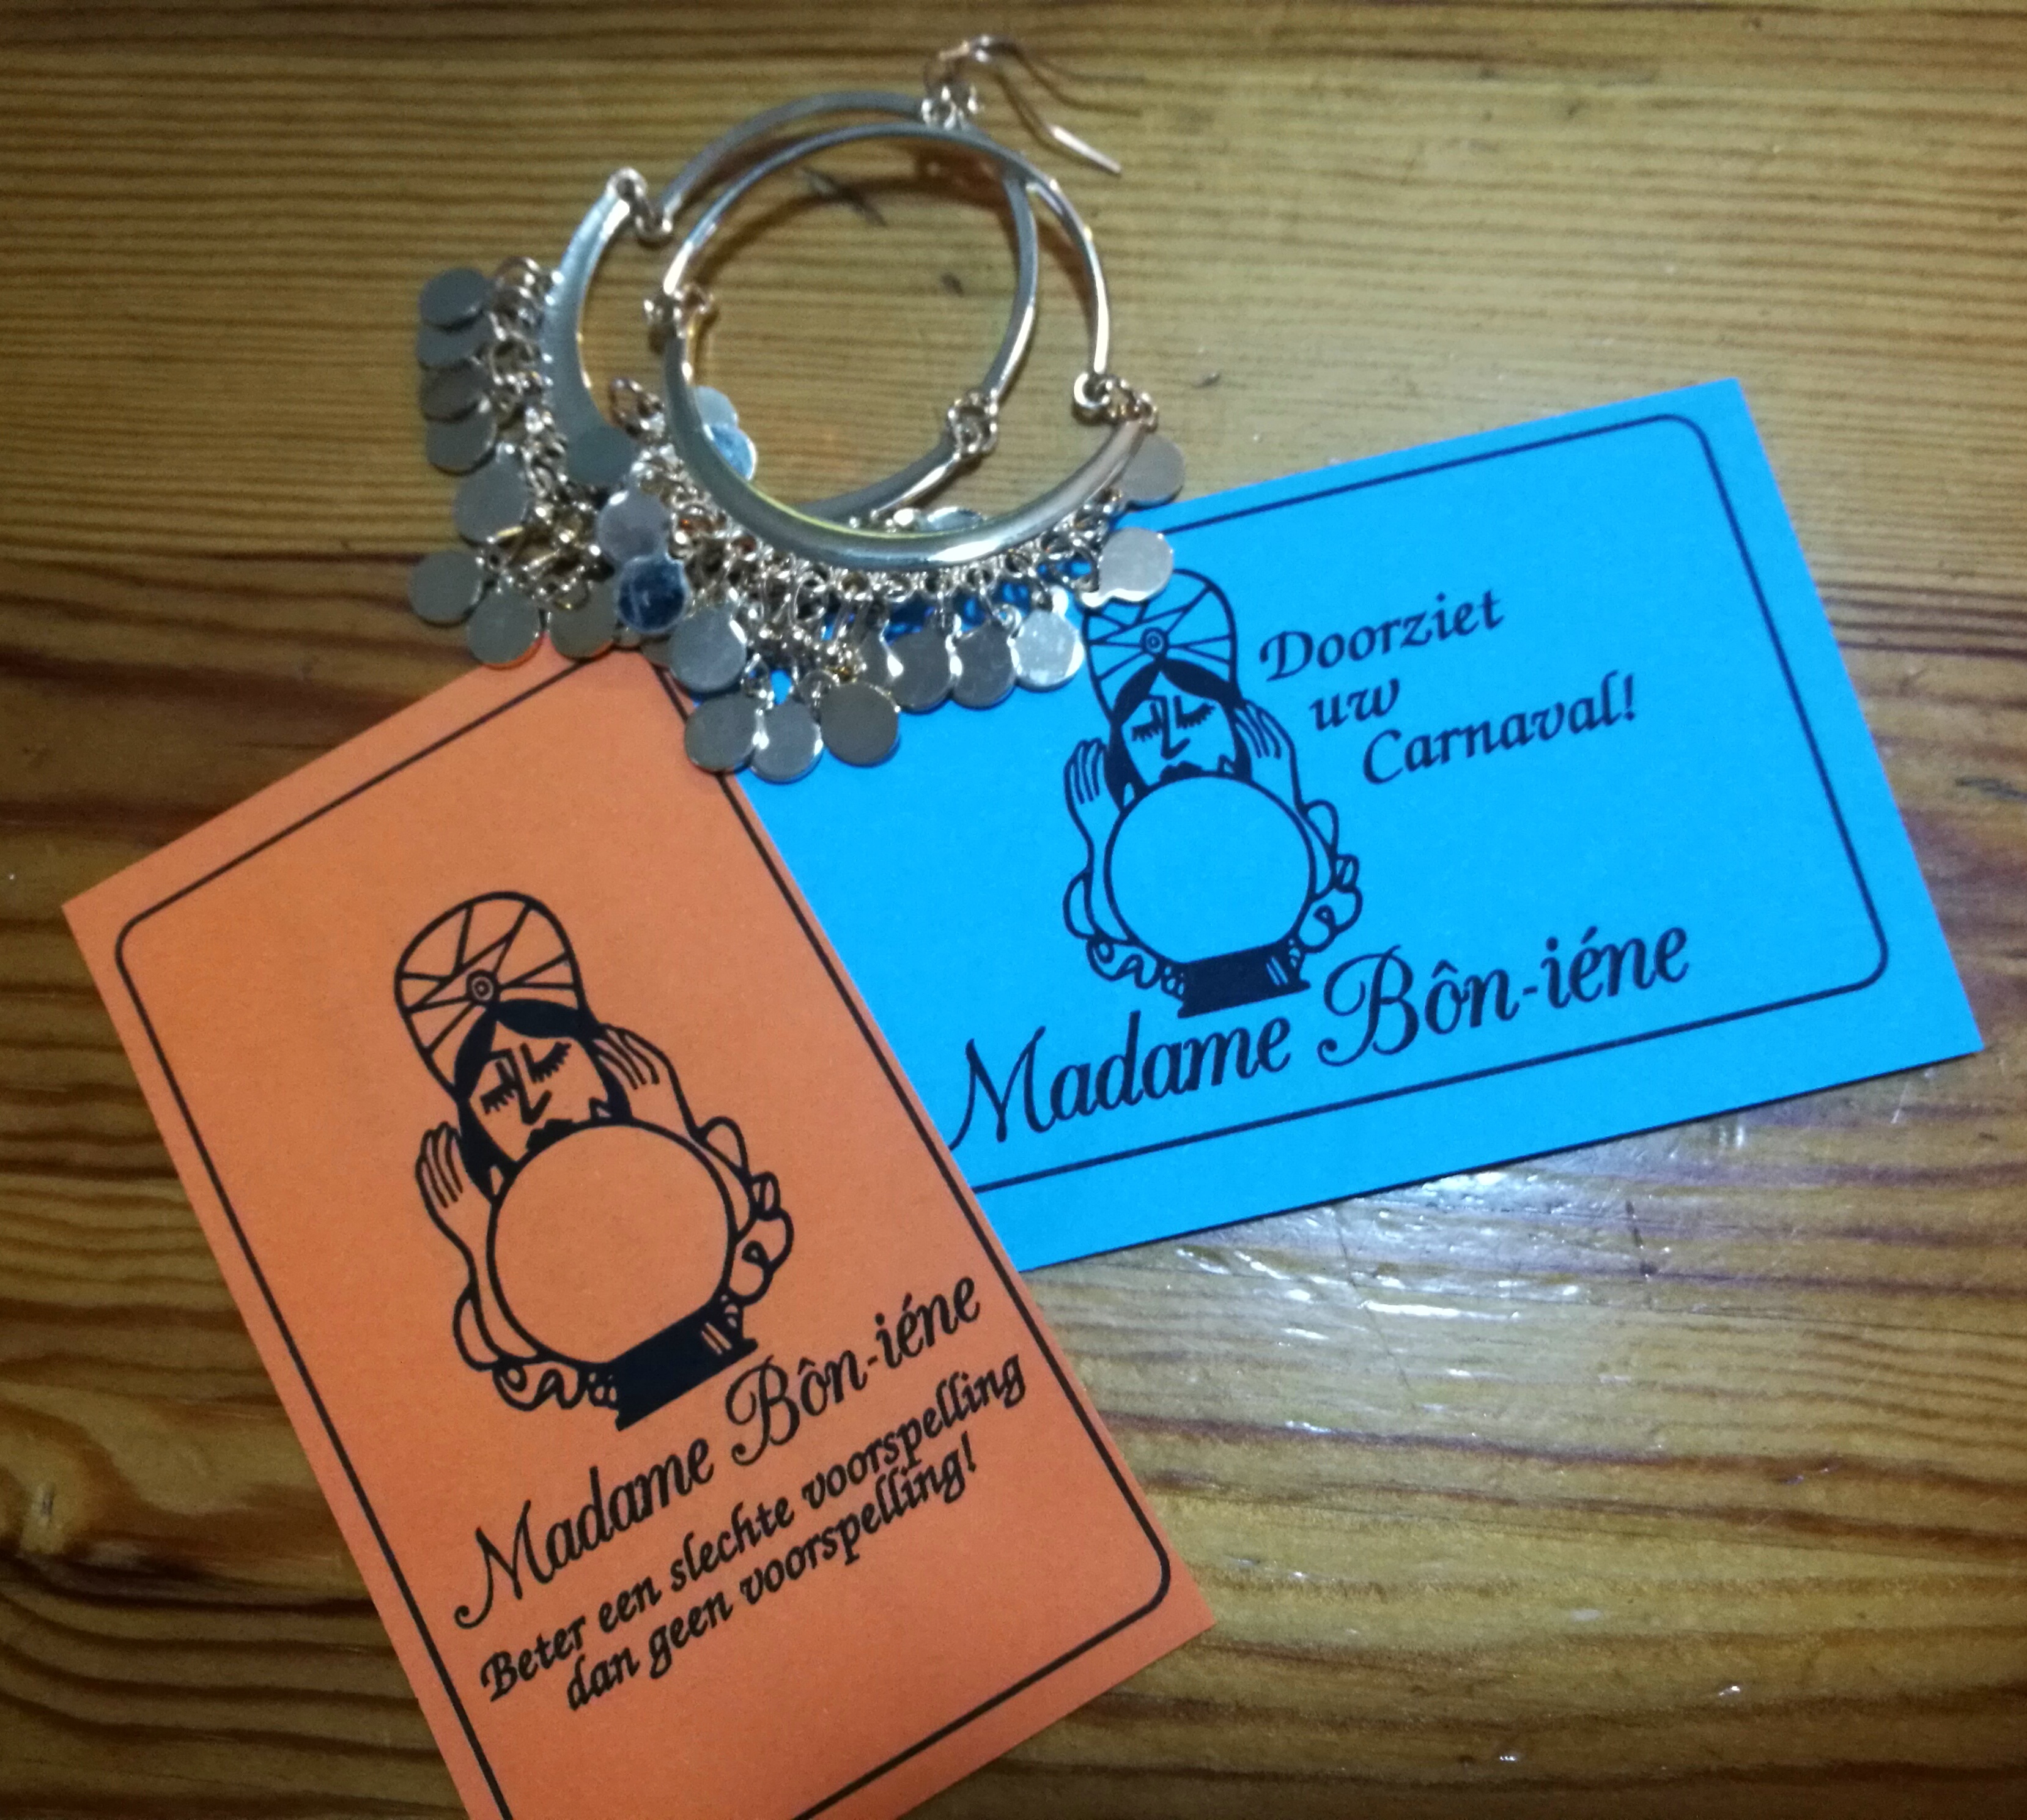
My quick logo design and artist name.
Sewing the costume
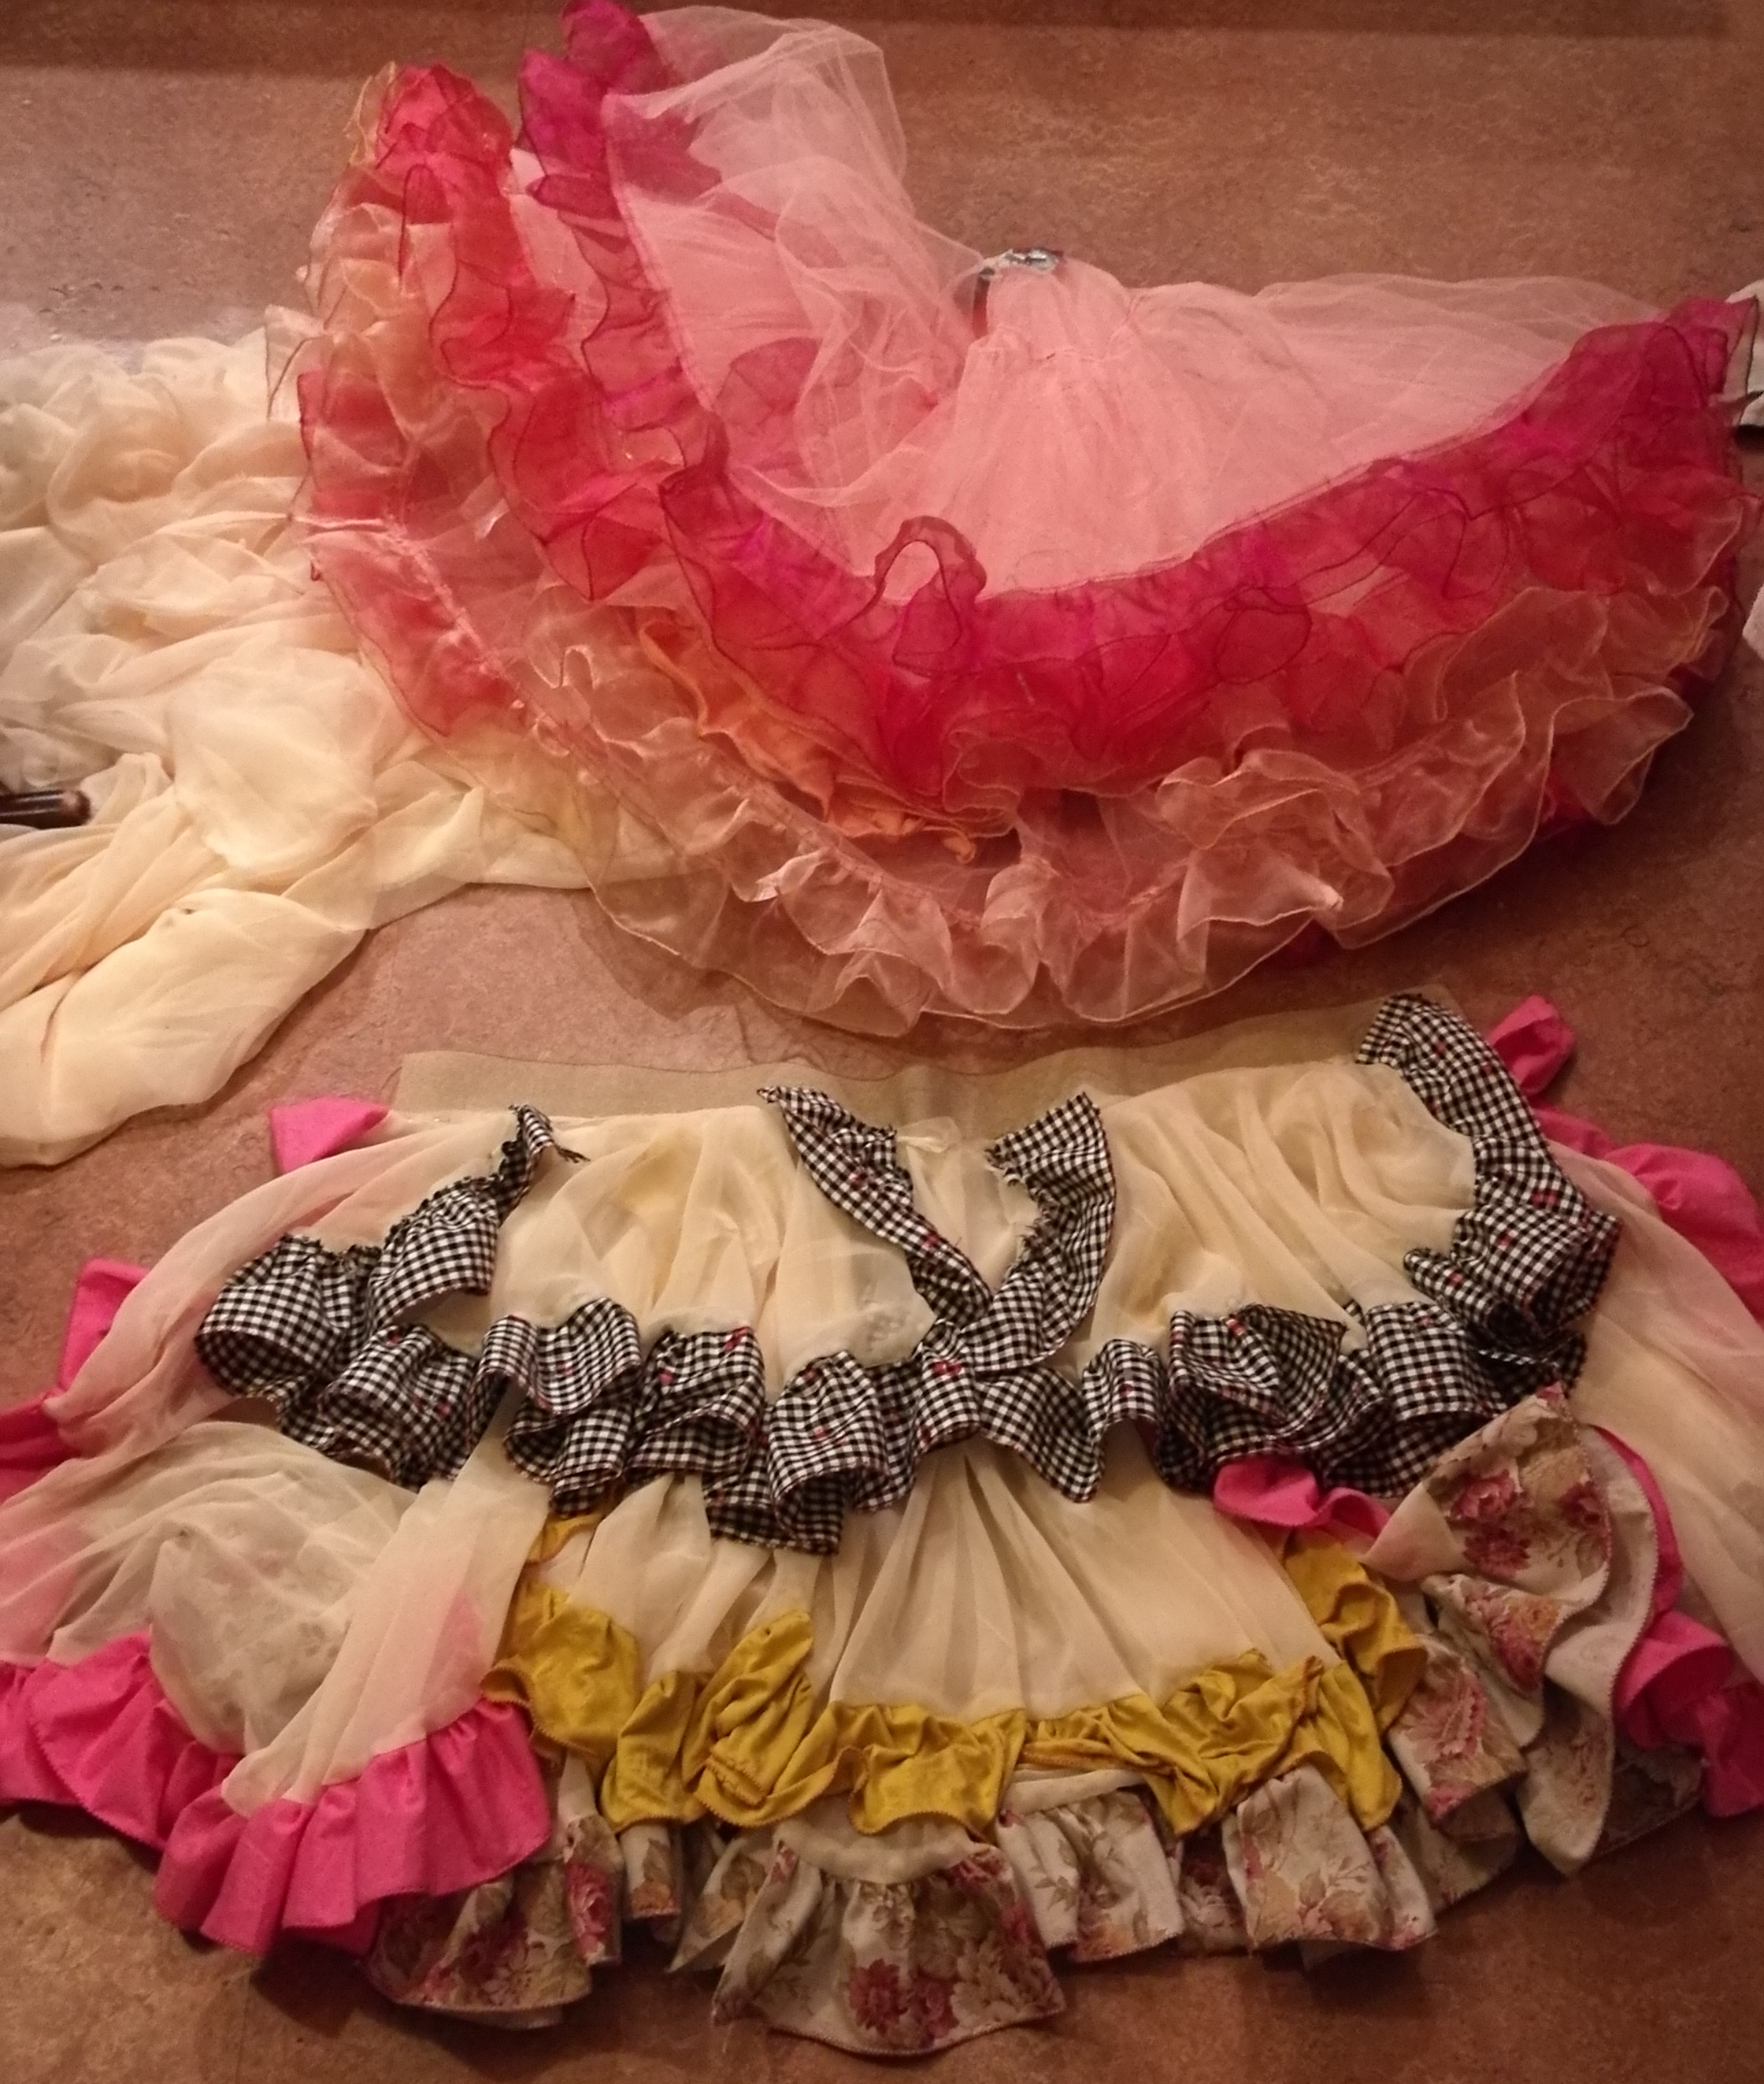
For the costume I re-use the petticoat from my previous dress. On top of that come layers of fabric with ruffle edges, composed form all kinds of left over fabric. Making it full and disorganized. Simply cutting circle skirts and making the ruffles. I had a nice black top laying around that goes perfect with it.
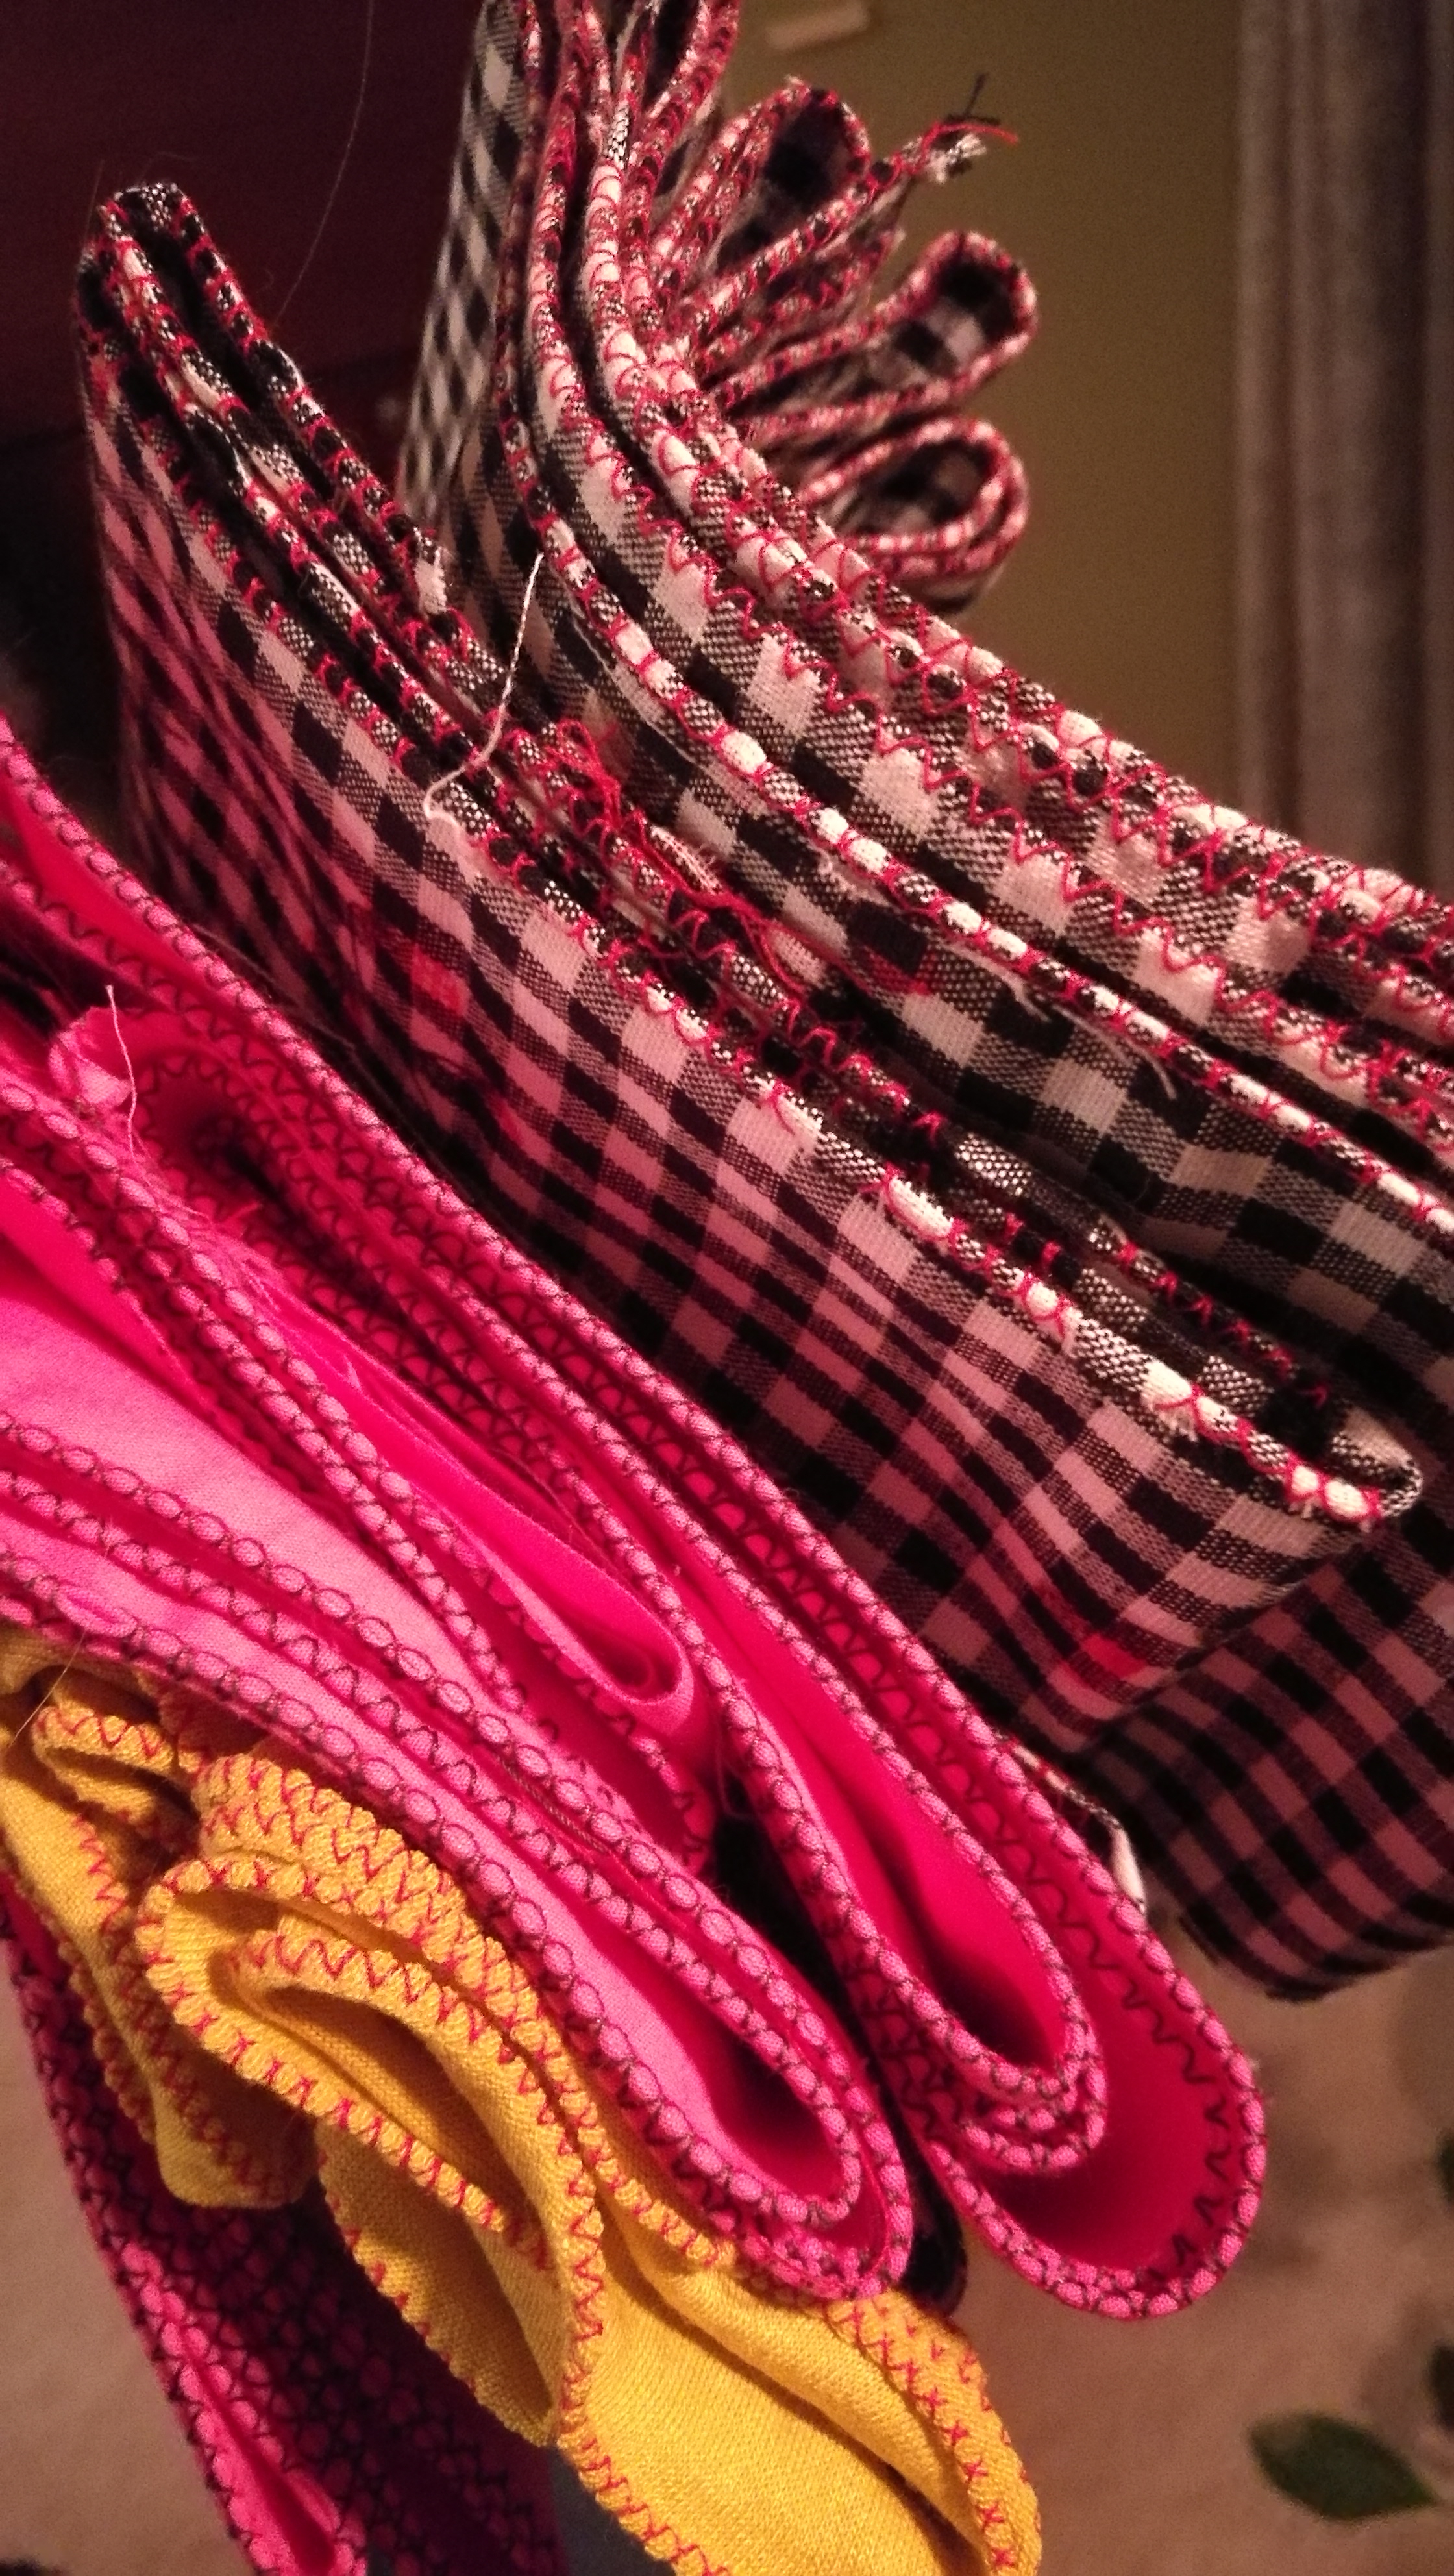
For the ruffles I cut strips from 10 cm wide from all kinds of leftover fabric. So it depends on the fabric how much I got. I trimmed one edge with my trimming foot. Giving it a nice colored round edge. When sewing them to the bottom of a circle skirt I rimpled them up, just with hand while at the machine. No pins needed to attach these meters of fabric! I think I spend a few evenings verwerken my old fabrics. It felt good using and shrinking in my fabric collection.
The hardware of my costume
What will I use for this project:
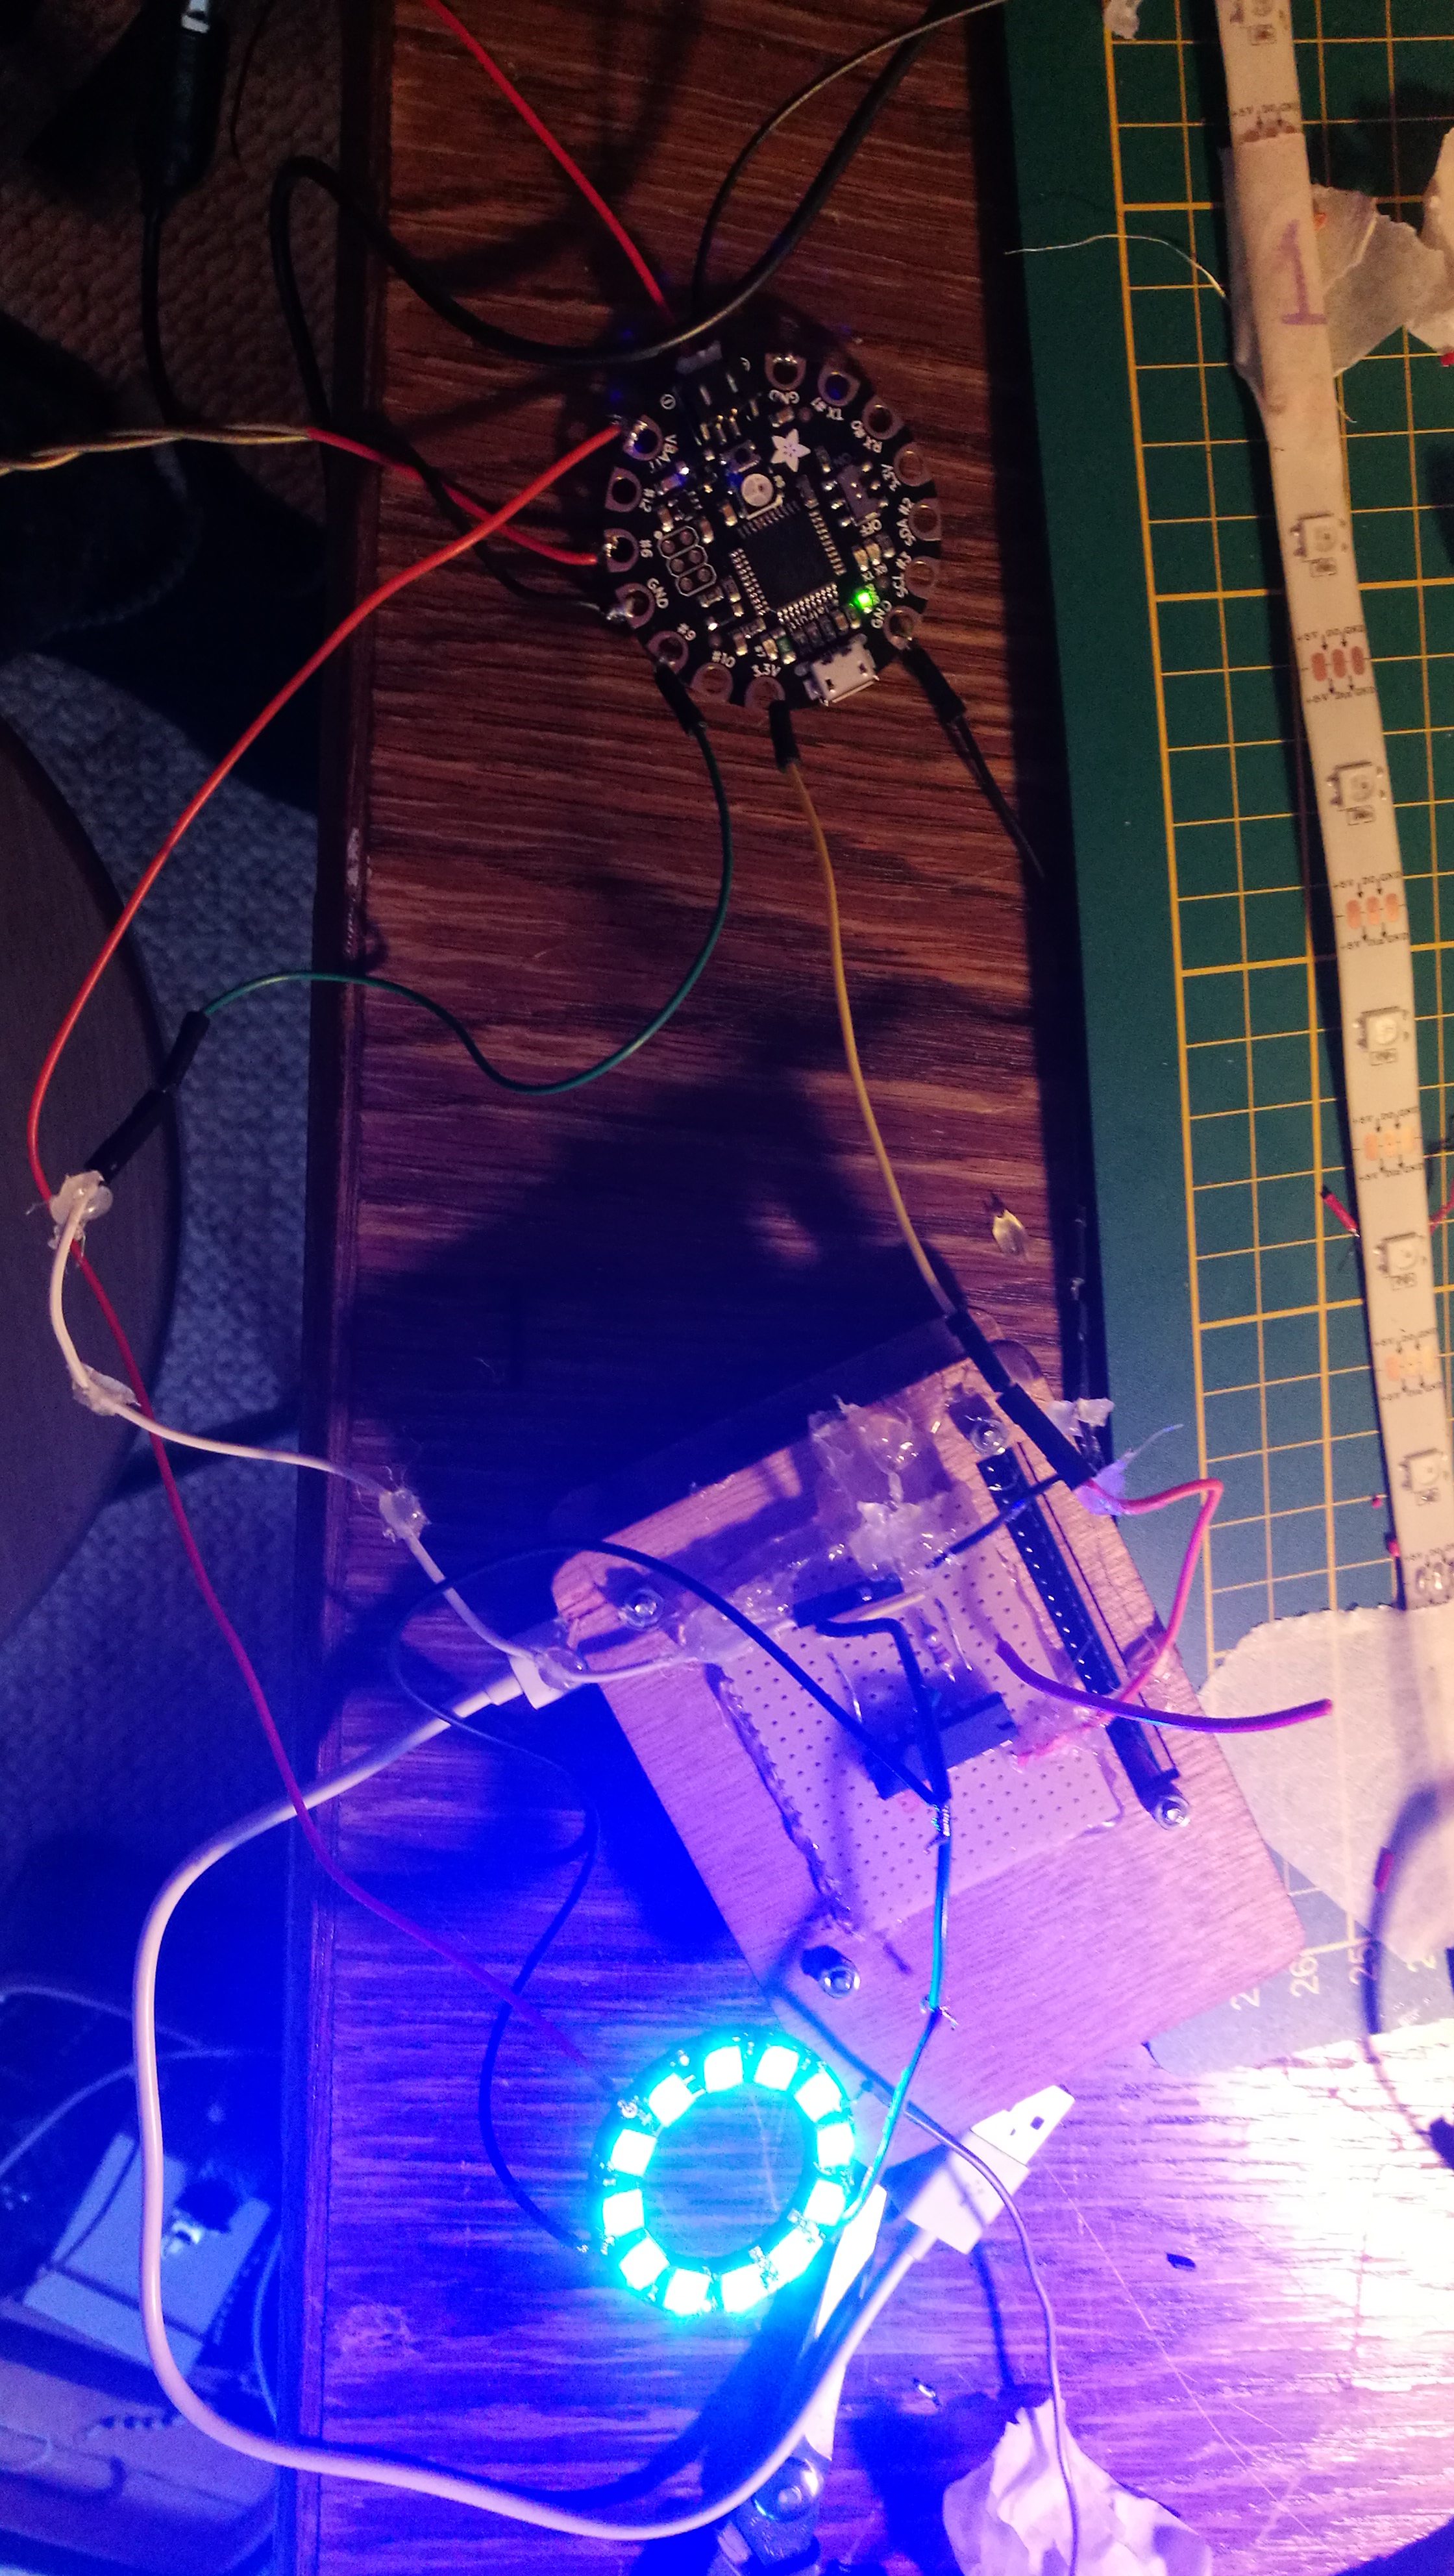
- Adafruit Flora v3 board
- NeoPixel Ring 12 LEDs 2X
- NeoPixel LED strips (60 pixels?) re-use from previous project
- Lead Accu
- a button
- Arduino SLE
- 2 pin JST connector, 3 pin connectors and DC power adapter jacks
- cables, and soldering materials
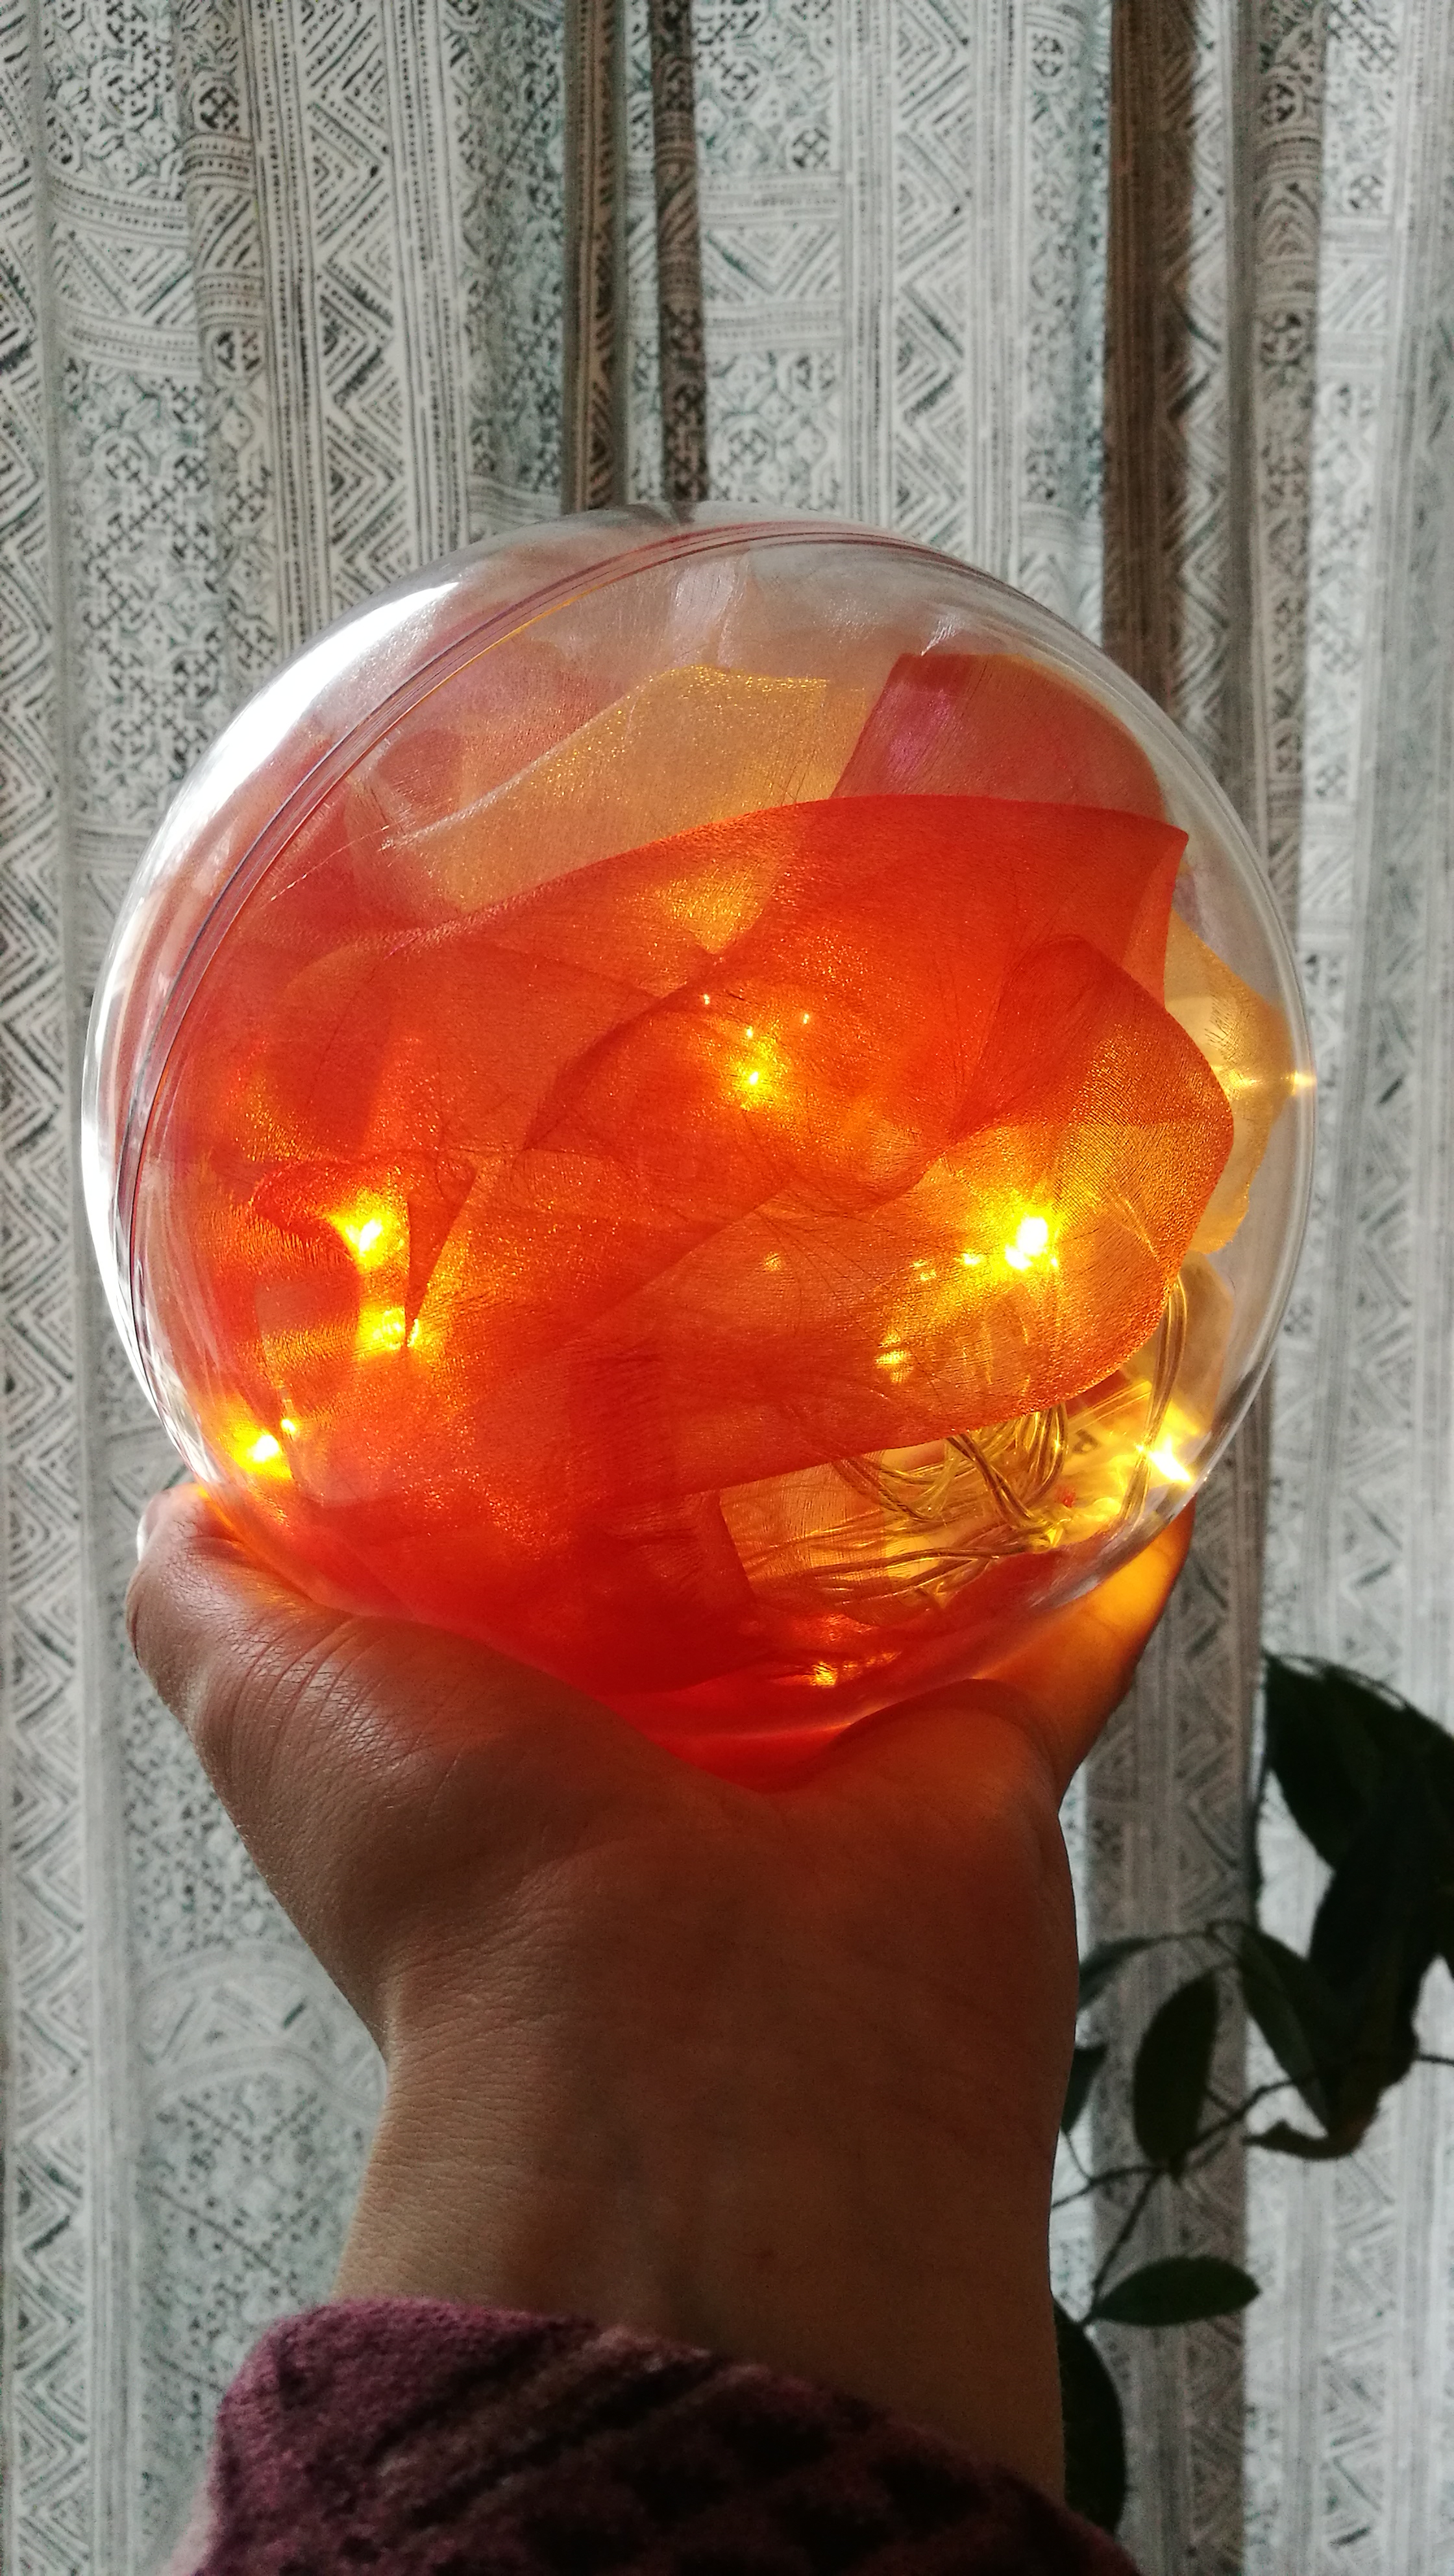
- Plastic bol 14cm from the arts and craft store
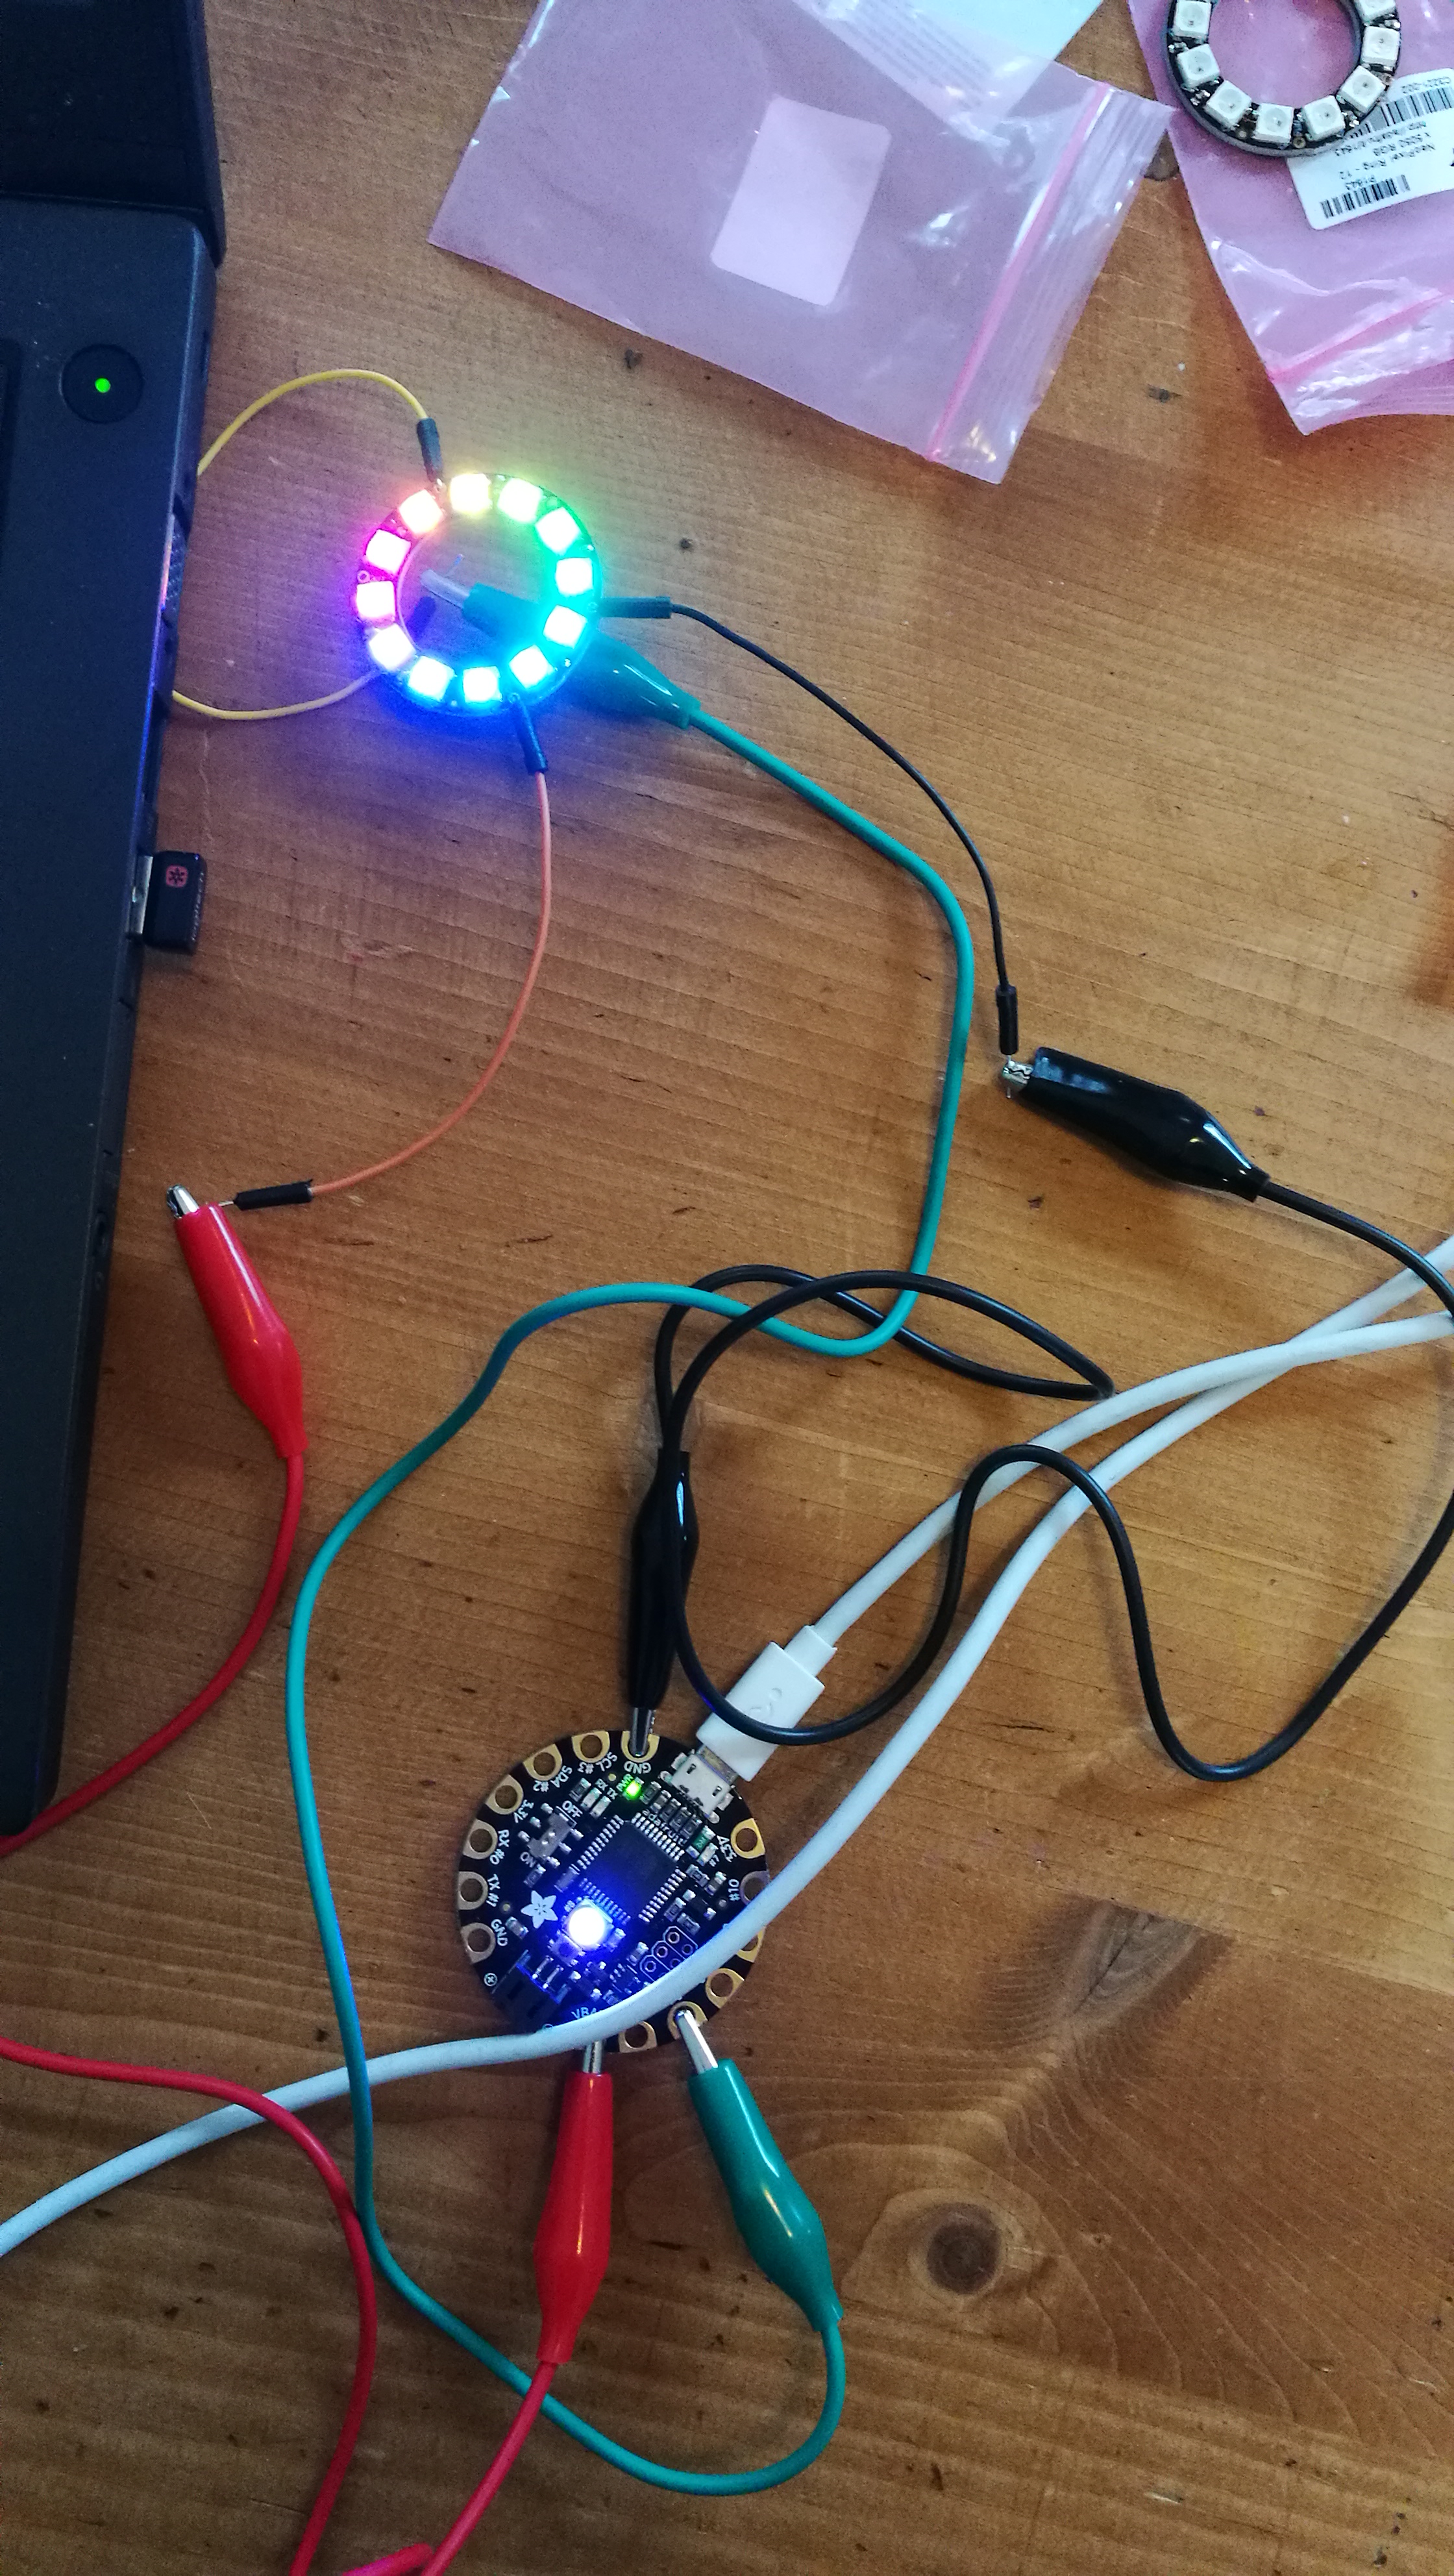
With the button on the boll I can trigger the LEDs to start a (random) program. The LED ring in the boll will start glowing 3 times with white light. Then it will set off the whole dress in a specific color, including a necklace that will join the dress.
Instead of a RaspberryPi (which was overkill) I will use the Flora board. It runs on 6V so can be hooked onto the same power source as the LEDs. It can control up to 600 LEDs and has a reset button. And very easy to get going!
I will reuse my Lead Accus from the last project. Not that it is the most convenient to drag around, but I still have them. Buying new Lithum Ion accus is another option, but this simply saves some money. They work on 6V and deliver 4.500 mAh. So one will be more then enough to run the Flora board and the LEDs all evening.
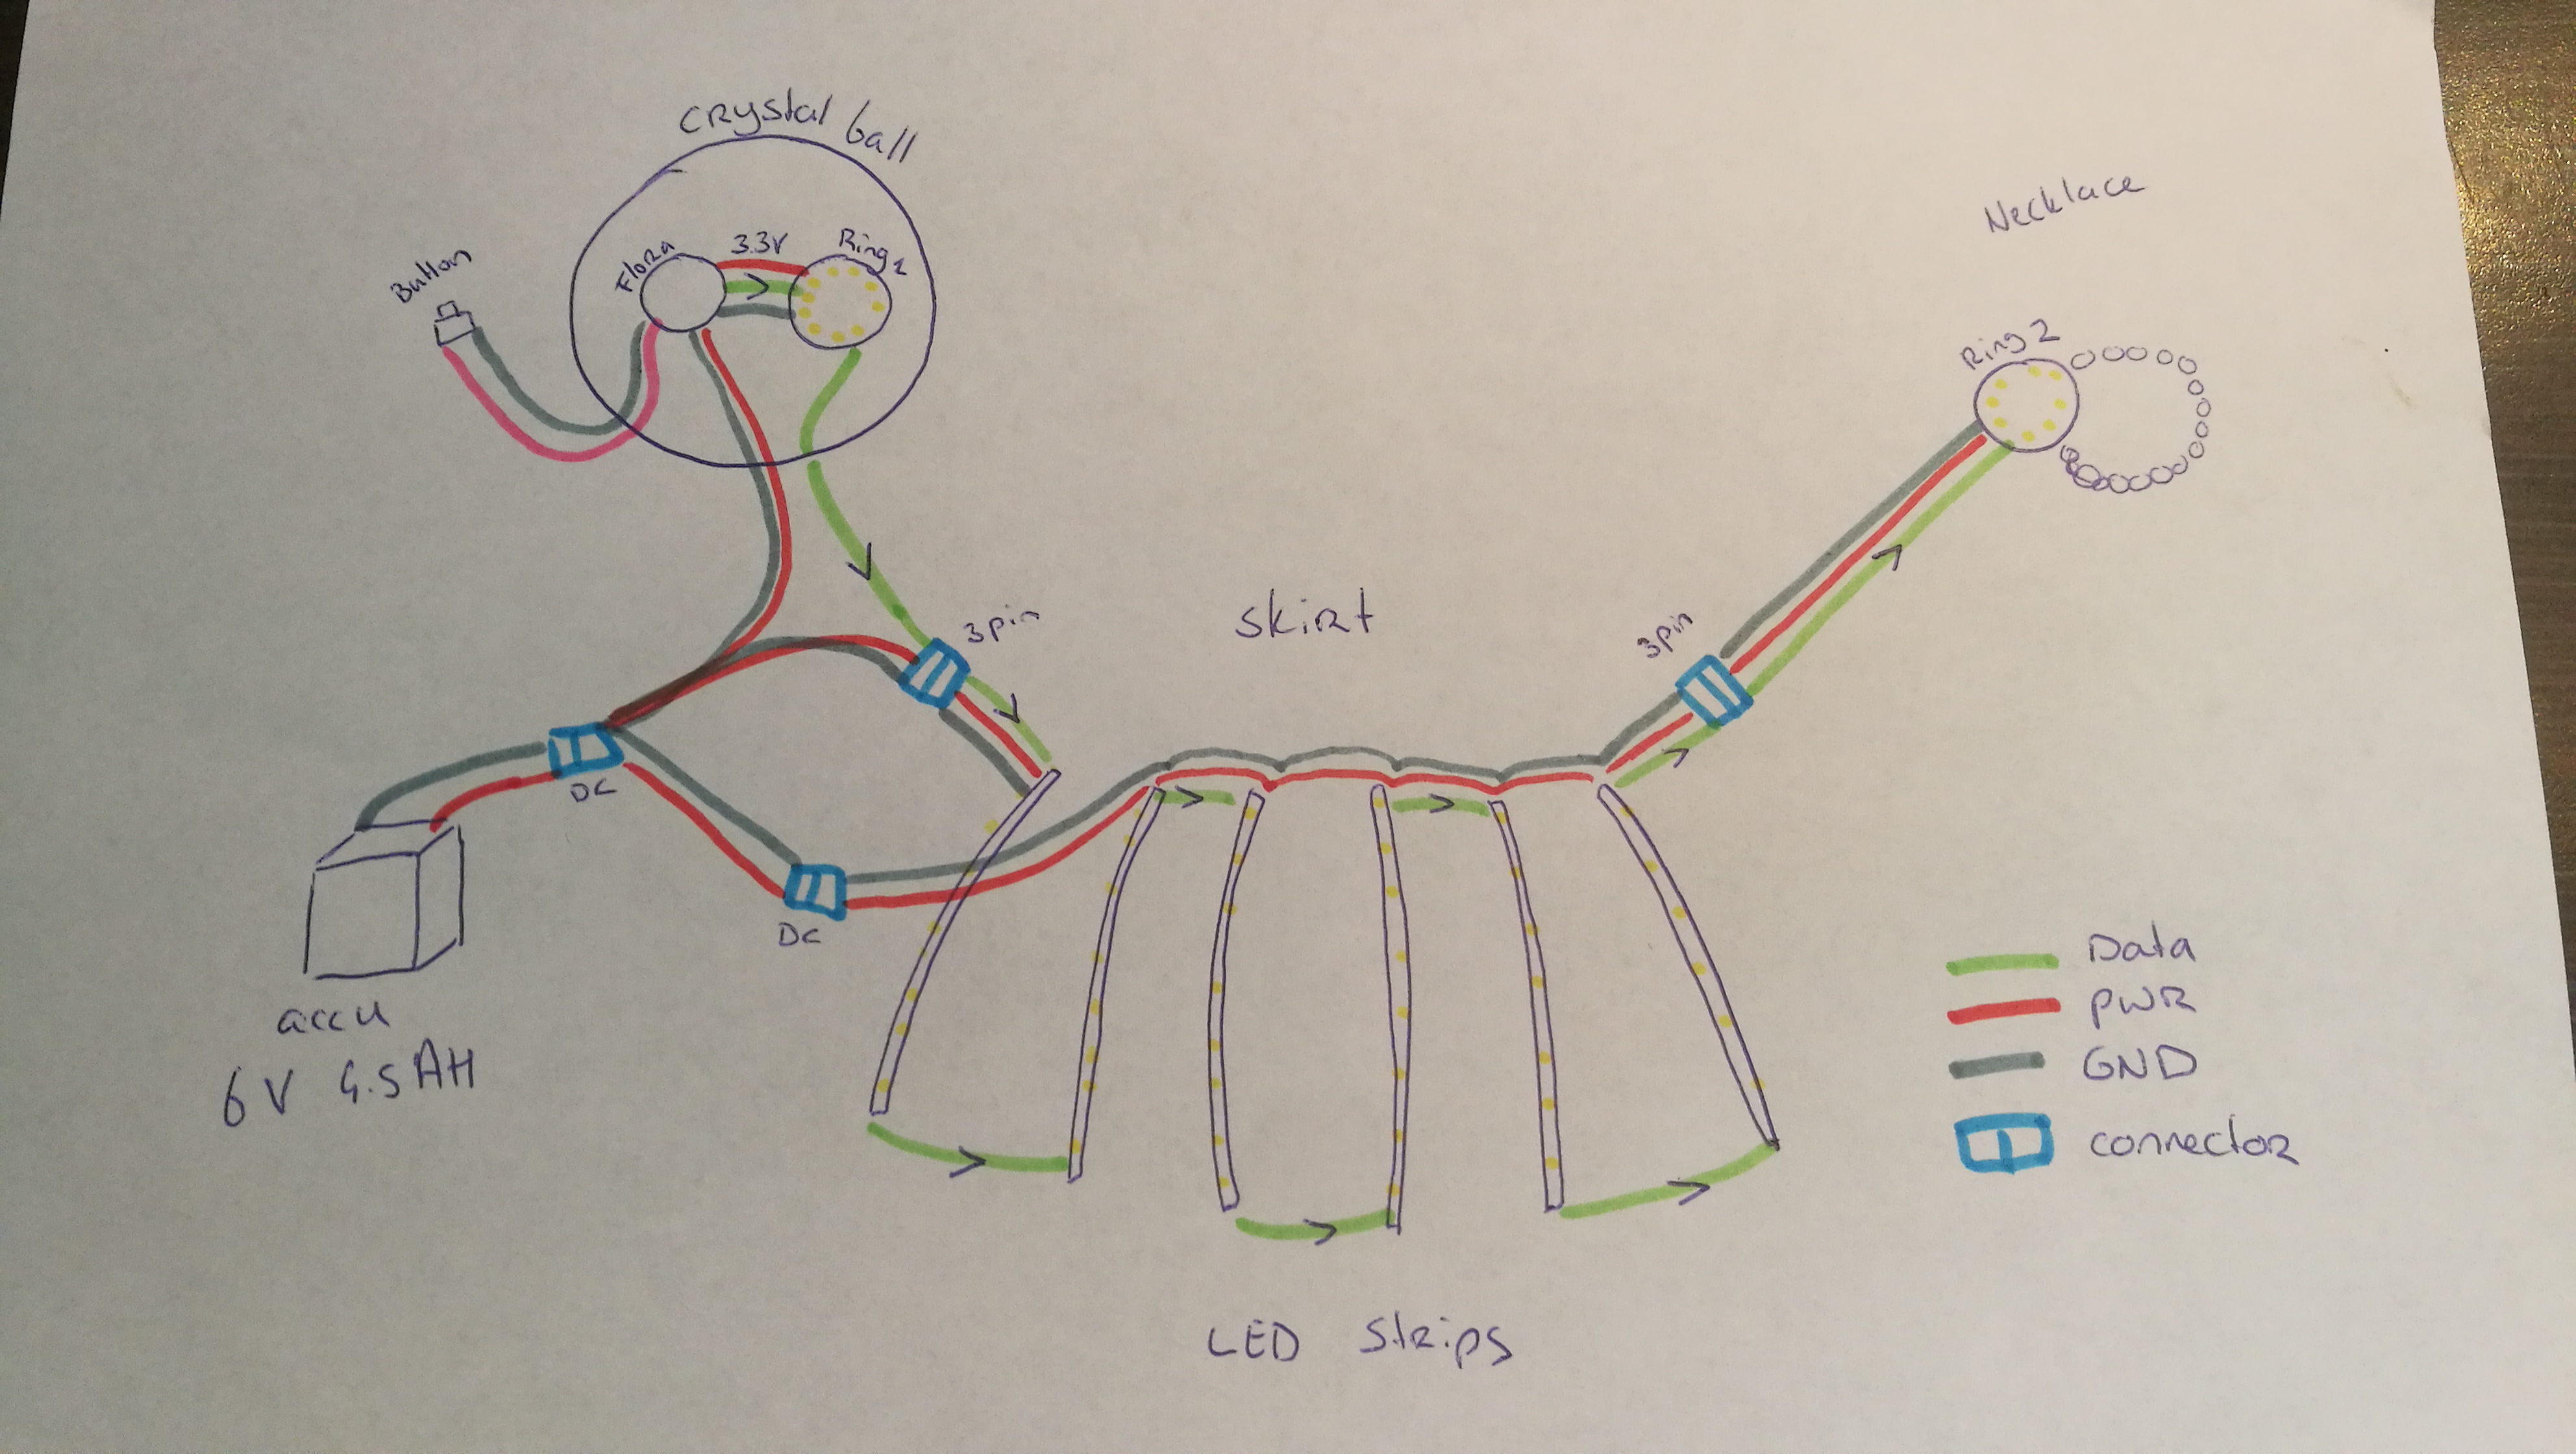
Circuit diagram:

Soldering all the LED strips together.

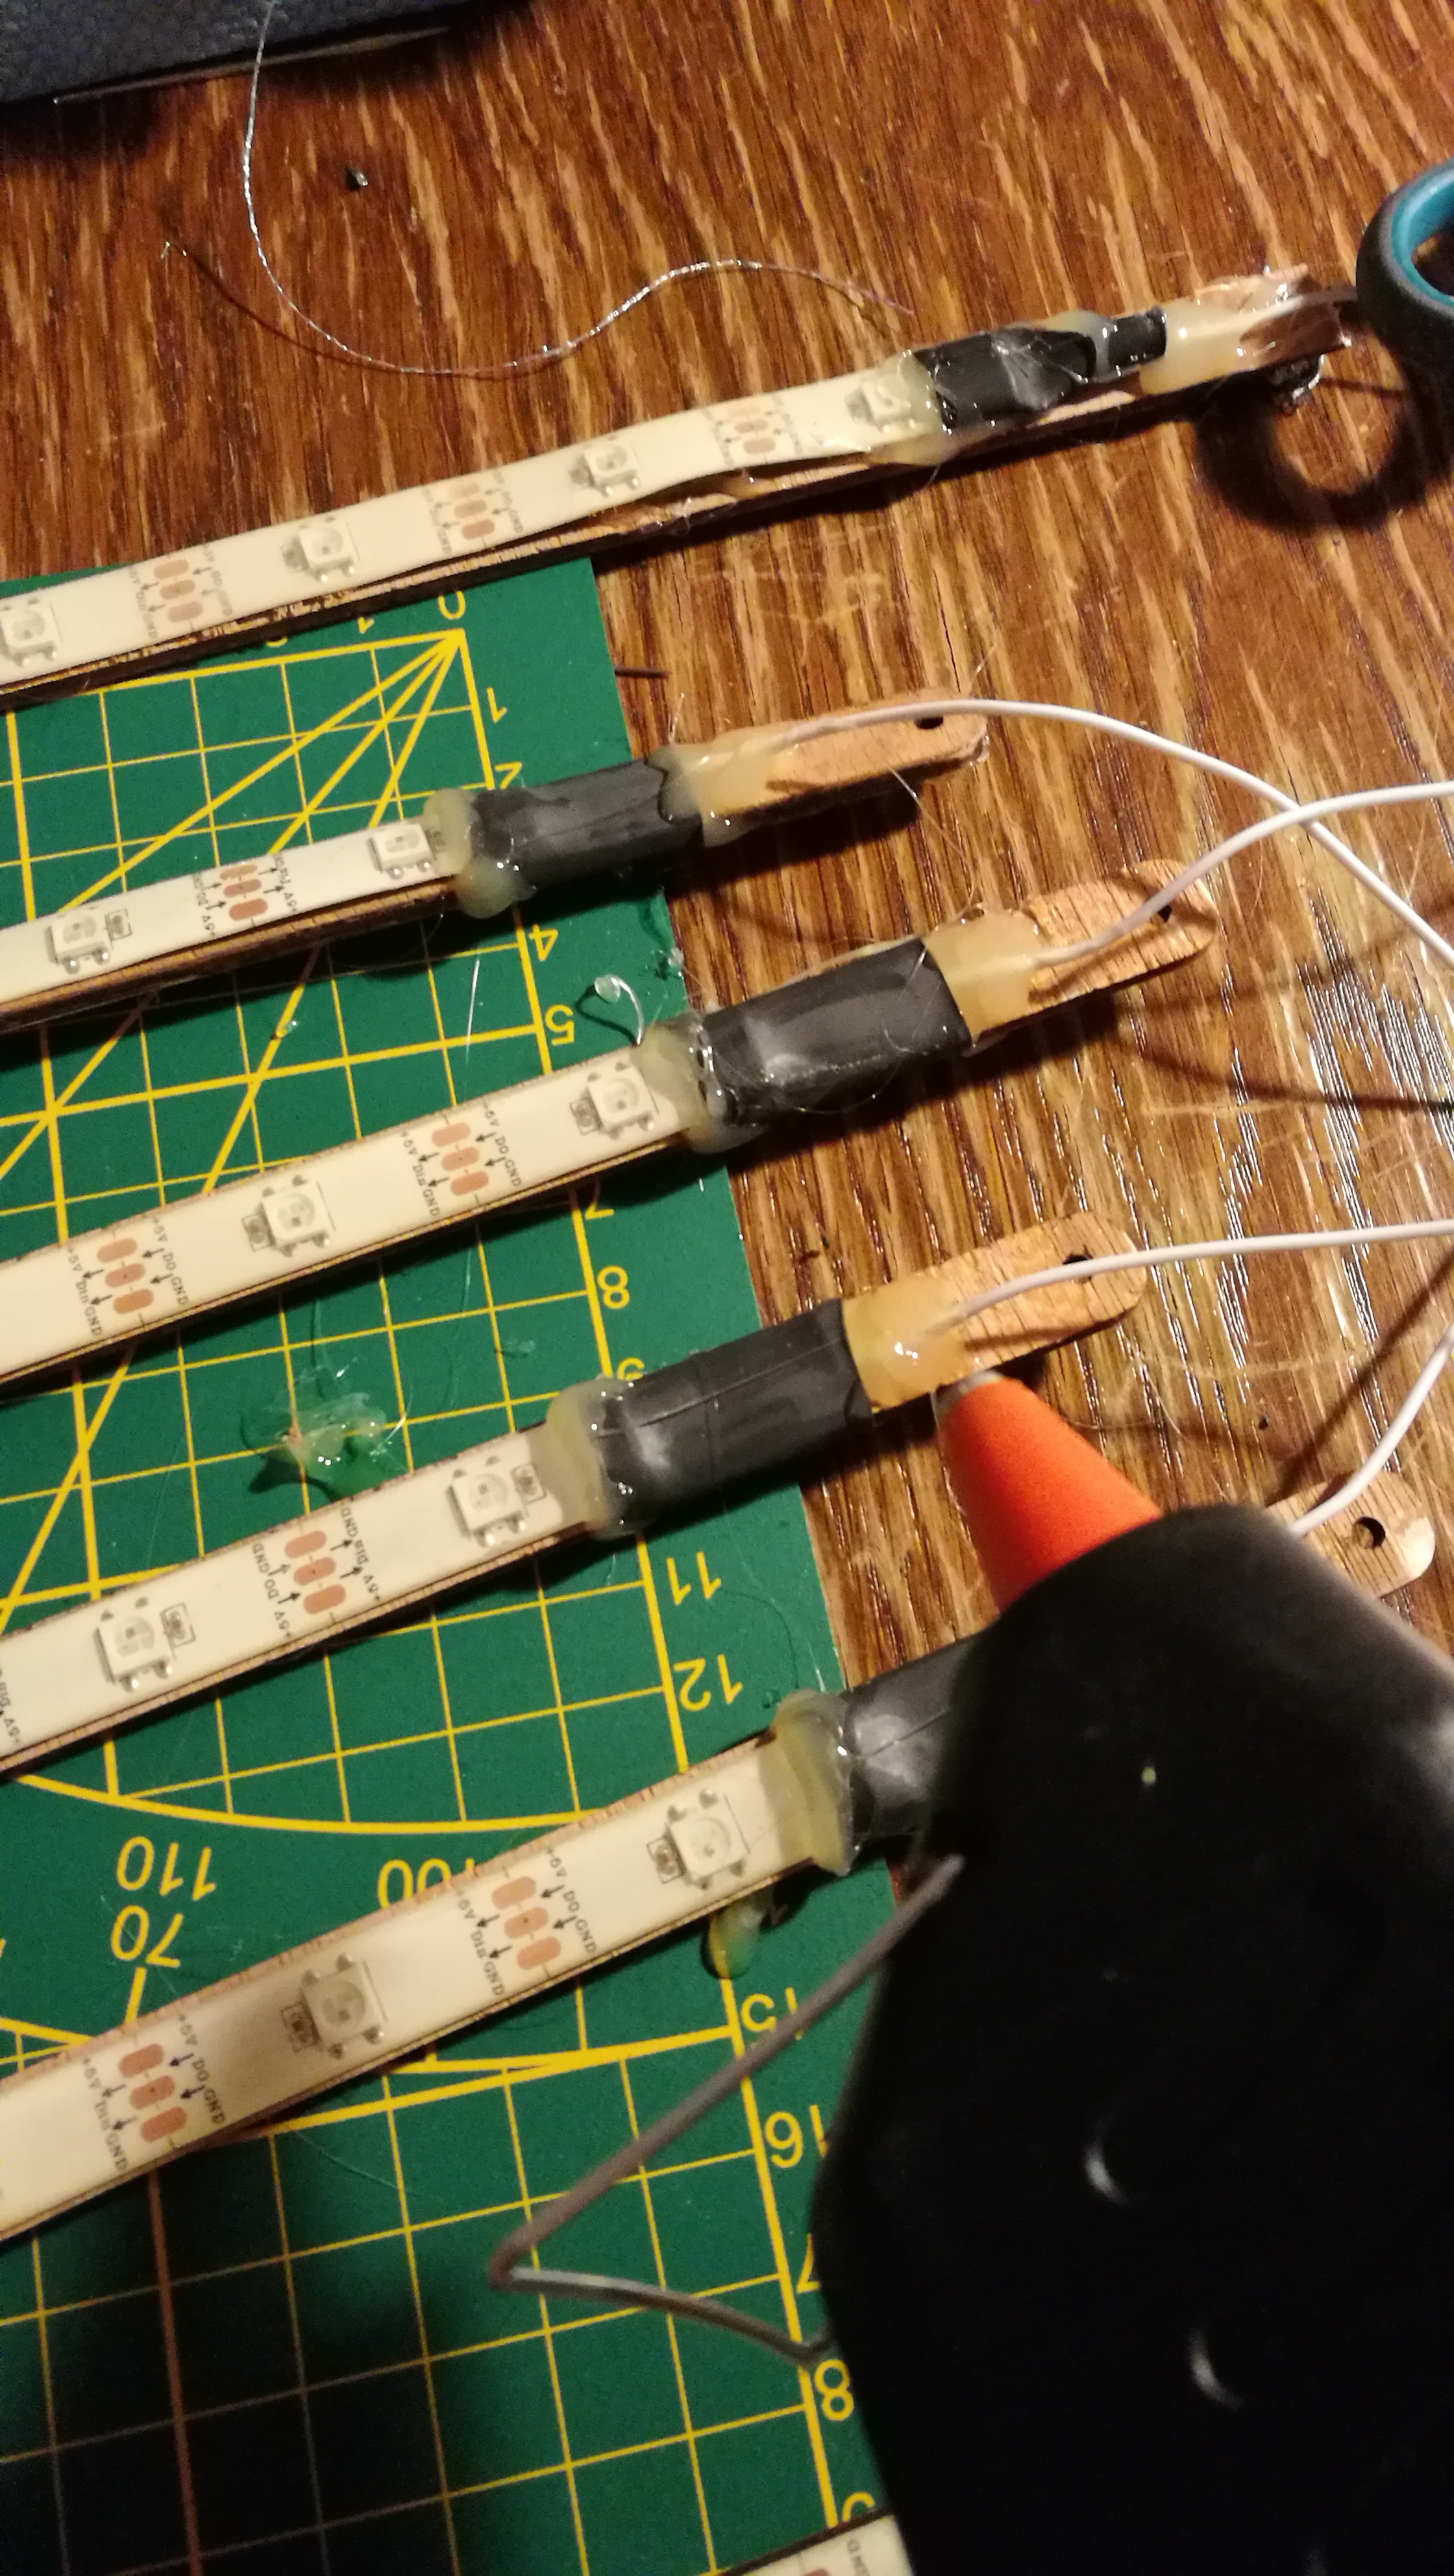
I put the LED strips on small wooden strips and glue the ends extra firm. This to prevent the strips from bending too much. Also the soldering ends are the most fragile part in the whole system. So extra enforcement is always good.
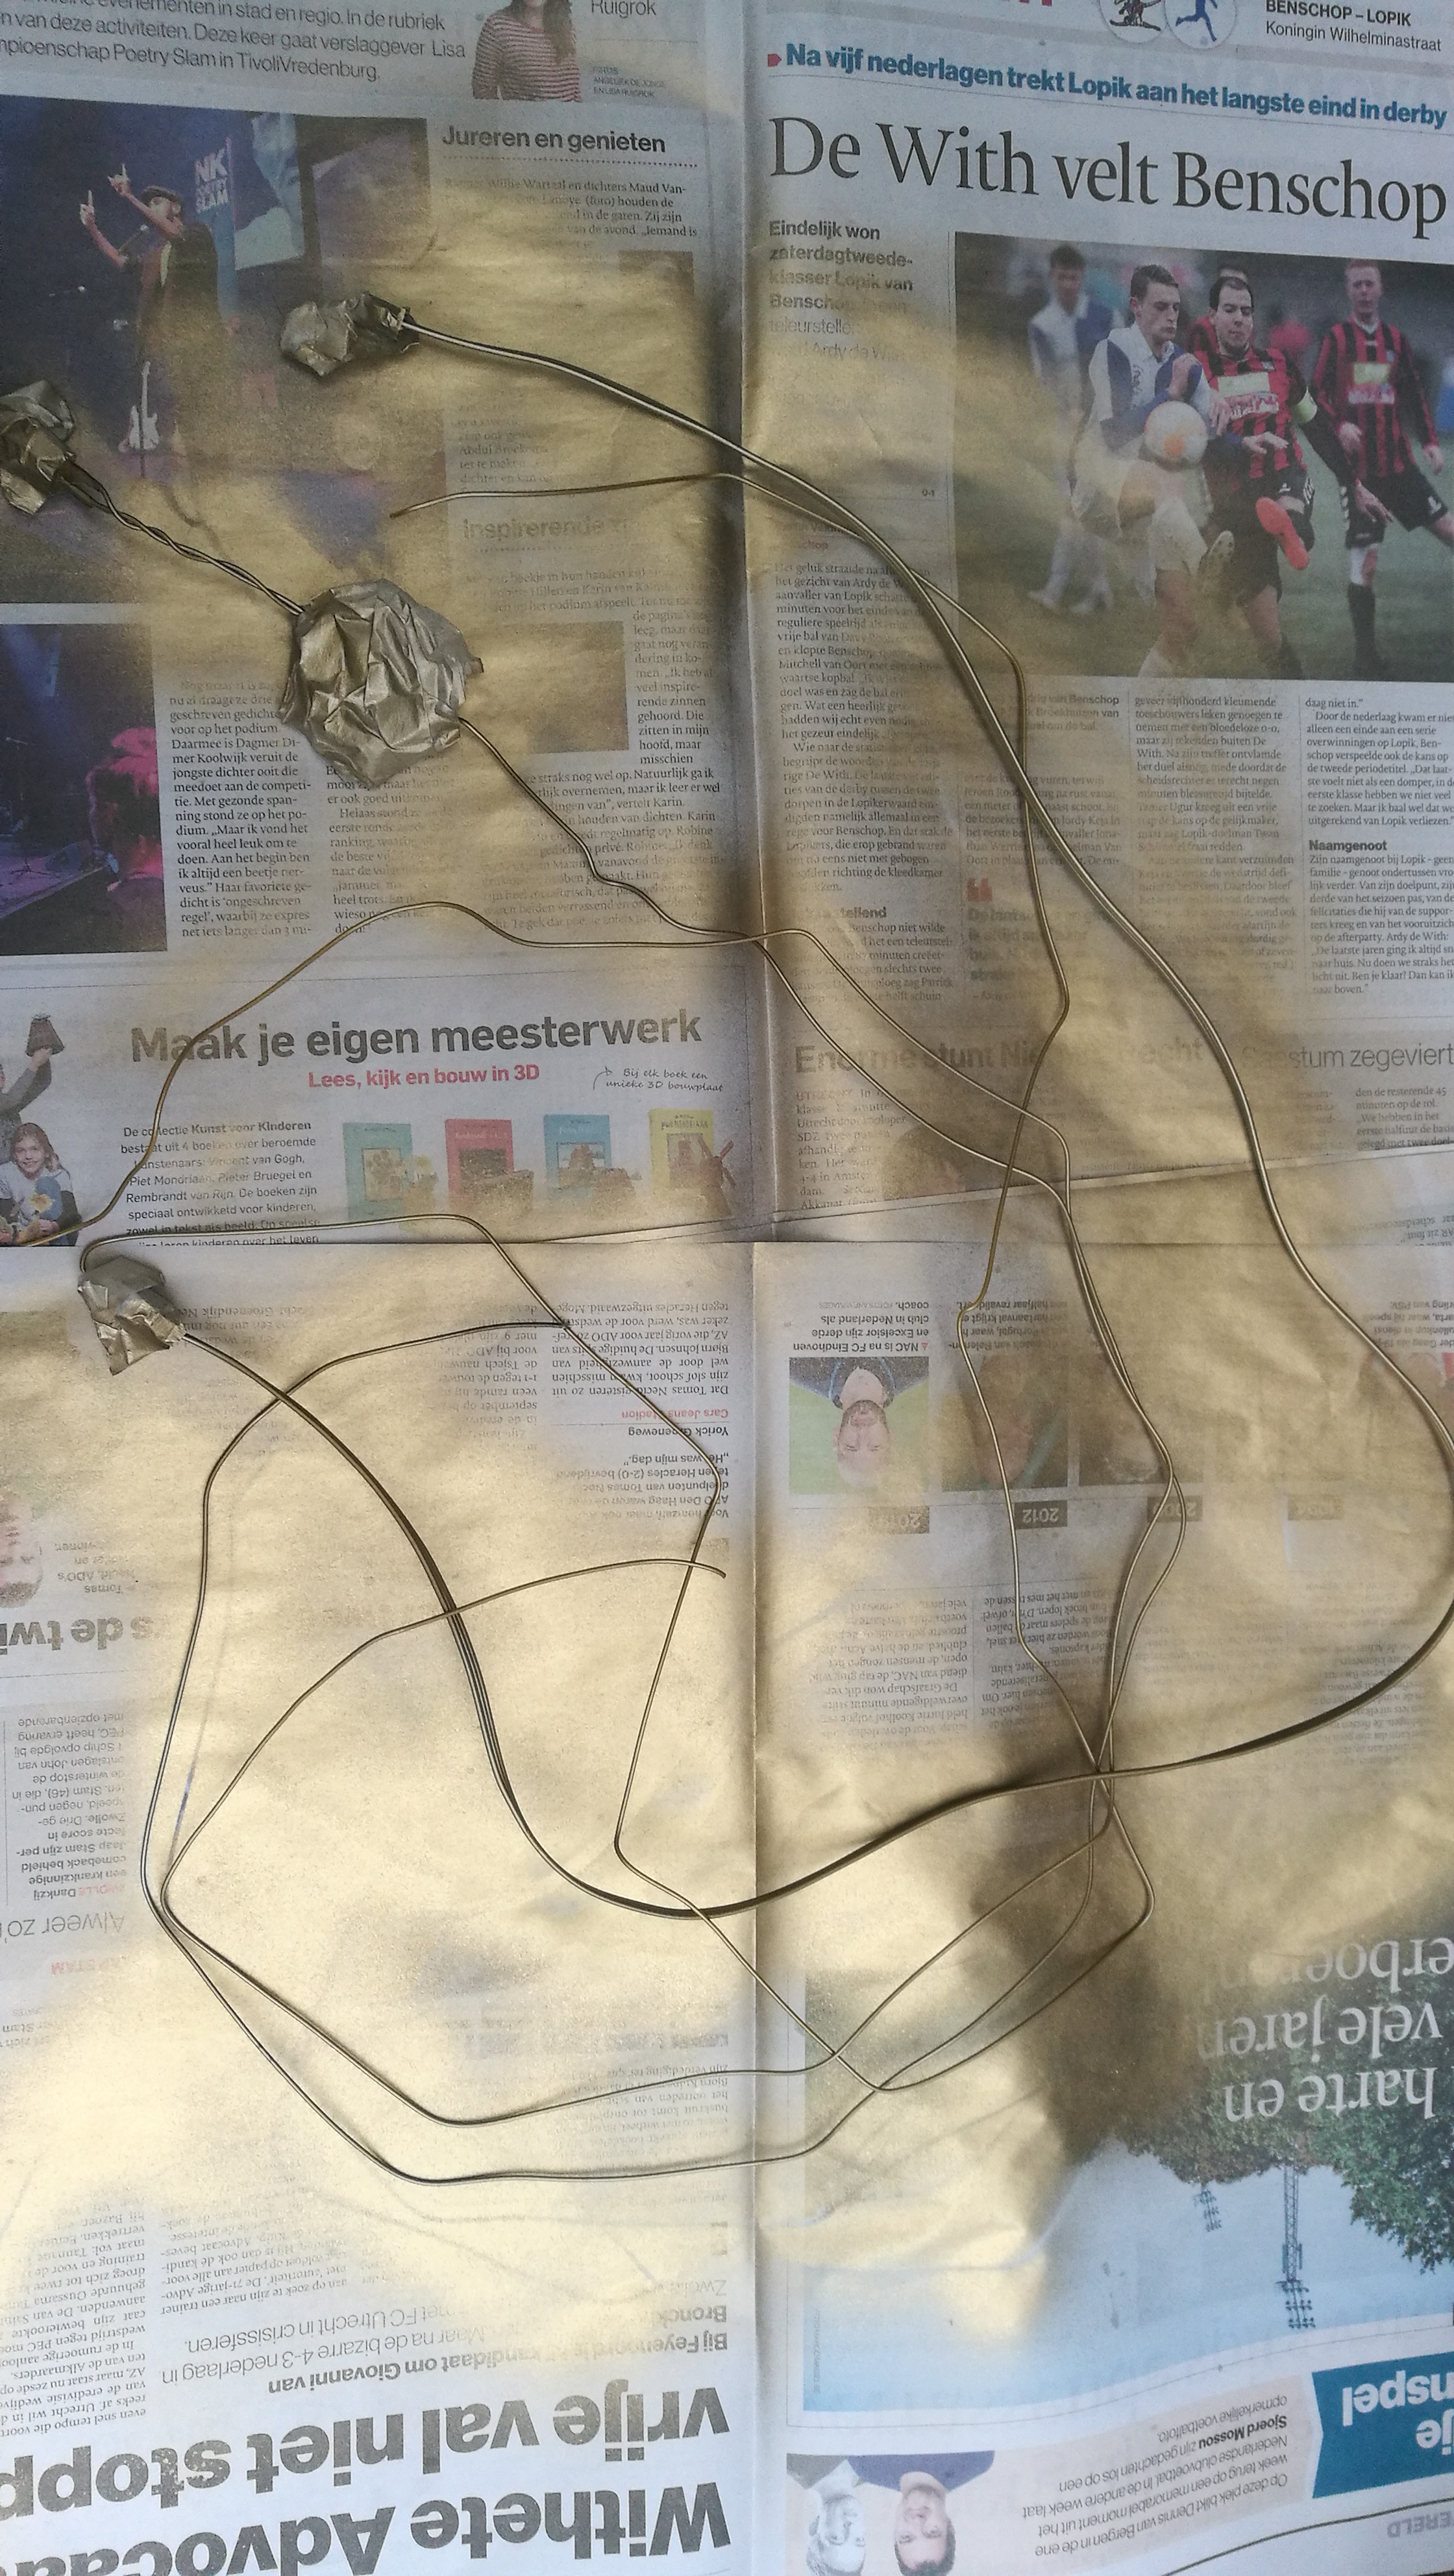
Painting the cables gold to fit my costume!
Programming the LEDs.
My final code can be found on my github. Here I will show some small parts of problems I had to fix.
Eventually I worte my code so that with the push of the button, the crystal ball will glow 3 times and then a rondom program was played. In total I had 8 different colored programs.
Also holding the button down for 2 or 3 counts, gave me control to play 2 programs in specific. This was fun to put the red color on (romance!) because people asked specifically about it. Also showing off the rainbow colors is always fun to do!
The NeoPixel rings are rgb but my strips are grb… (yes cheap strips) So needed to work some code to rewrite the colors for the 3 components independently. Also coming in handy when you only want to light up one component.
// Color Whole Strip
void ColorStrip(int r, int g , int b, int wait){
  ring1(r,g,b);
  strips(r,g,b);
  ring2(r,g,b);
  strip.show();
  delay(wait);
}

//COLOR ring 1
void ring1(int r, int g , int b ){
  for( int i = START_PIX_RING_1; i < NUM_PIX_RING; i++ ){
    strip.setPixelColor(i, strip.Color(r,g,b));
  }
}

//COLOR strips
void strips(int r, int g , int b ){
  for( int i = START_PIX_STRIP; i < NUM_PIX_STRIP+START_PIX_STRIP; i++ ){
    strip.setPixelColor(i, strip.Color(g,r,b));
  }
}

//COLOR ring 2
void ring2(int r, int g , int b ){
  for( int i = START_PIX_RING_2; i < NUM_PIX_RING+START_PIX_RING_2; i++ ){
    strip.setPixelColor(i, strip.Color(r,g,b));
  }
}
I wanted to play multiple light programs with just one button. Here is the basic code snippet of the counting for the button. It will count every 100 milli seconds you hold the button down and light up one LED for every count. When you let go it will play a light program showing all LEDs in specific color. The buttonstate tracks if you let go of the button, and only then it will continue executing a program. Of course this code can be extended untill you can count no further! Here I only show 5 different programs. At the count of 5 it will reset the button count and state.
This enables me to choose from multiple light programs with just one button!
#include <Adafruit_NeoPixel.h>

#define PIN 9
#define buttonPin 6
int buttonPushCounter = 0;   // counter for the number of button presses
int buttonState = 0;
int lastButtonState = 0;     // previous state of the button

Adafruit_NeoPixel strip = Adafruit_NeoPixel(12, PIN, NEO_RGB + NEO_KHZ800);

void setup() {
    pinMode(buttonPin, INPUT_PULLUP);
    strip.begin();
    strip.setBrightness(100);
    strip.show();

}

void loop() {

    // read the pushbutton input pin:
    buttonState = digitalRead(buttonPin);

    // when button is pushed in start counting
    if(buttonState == LOW)
    {
        delay(100);
        buttonPushCounter++;
        //Show one led per count
        strip.setPixelColor(buttonPushCounter, strip.Color(255,0,0));
        strip.show();
    };

    // When button is up again
    if (buttonState != lastButtonState) {
        startProgram(buttonPushCounter);
    };

    //RESET automatically at count of 5
    if(buttonPushCounter == 5){
        program5();
        reset();
    };
}

// Choose program
void startProgram(int count){
  if(count==1){program1();}
  if(count==2){program2();}
  if(count==3){program3();}
  if(count==4){program4();}
};

void program1(){ //Blue color
    ColorStrip(strip.Color(0,0,255));
    delay(1000);
    reset();
}

void program2(){ //Green color
    ColorStrip(strip.Color(0,255,0));
    delay(1000);
    reset();
}

void program3(){ //Red color
    ColorStrip(strip.Color(255,0,0));
    delay(1000);
    reset();
}

void program4(){ //Pink
    ColorStrip(strip.Color(255,0,255));
    delay(1000);
    reset();
}

void program5(){ //Yellow
    ColorStrip(strip.Color(255,187,104));
    delay(1000);
    reset();
}

// Reset button state and counter after every program
void reset(){
  buttonPushCounter = 0;
  buttonState = 0;
  lastButtonState = 0;
  ColorStrip(strip.Color(0,0,0));
}

// Set one color on whole strip
void ColorStrip(uint32_t c){
    // set the colors for the strip
    for( int i = 0; i <strip.numPixels(); i++ )
        strip.setPixelColor(i, c);
    // show all pixels
    strip.show();
    // wait for a short amount of time -- sometimes a short delay of 5ms will help
    // technically we only need to execute this one time, since we aren't changing the colors but we will build on this structure
    delay(10);
};
For the red color I tried to make a heart beat effect:
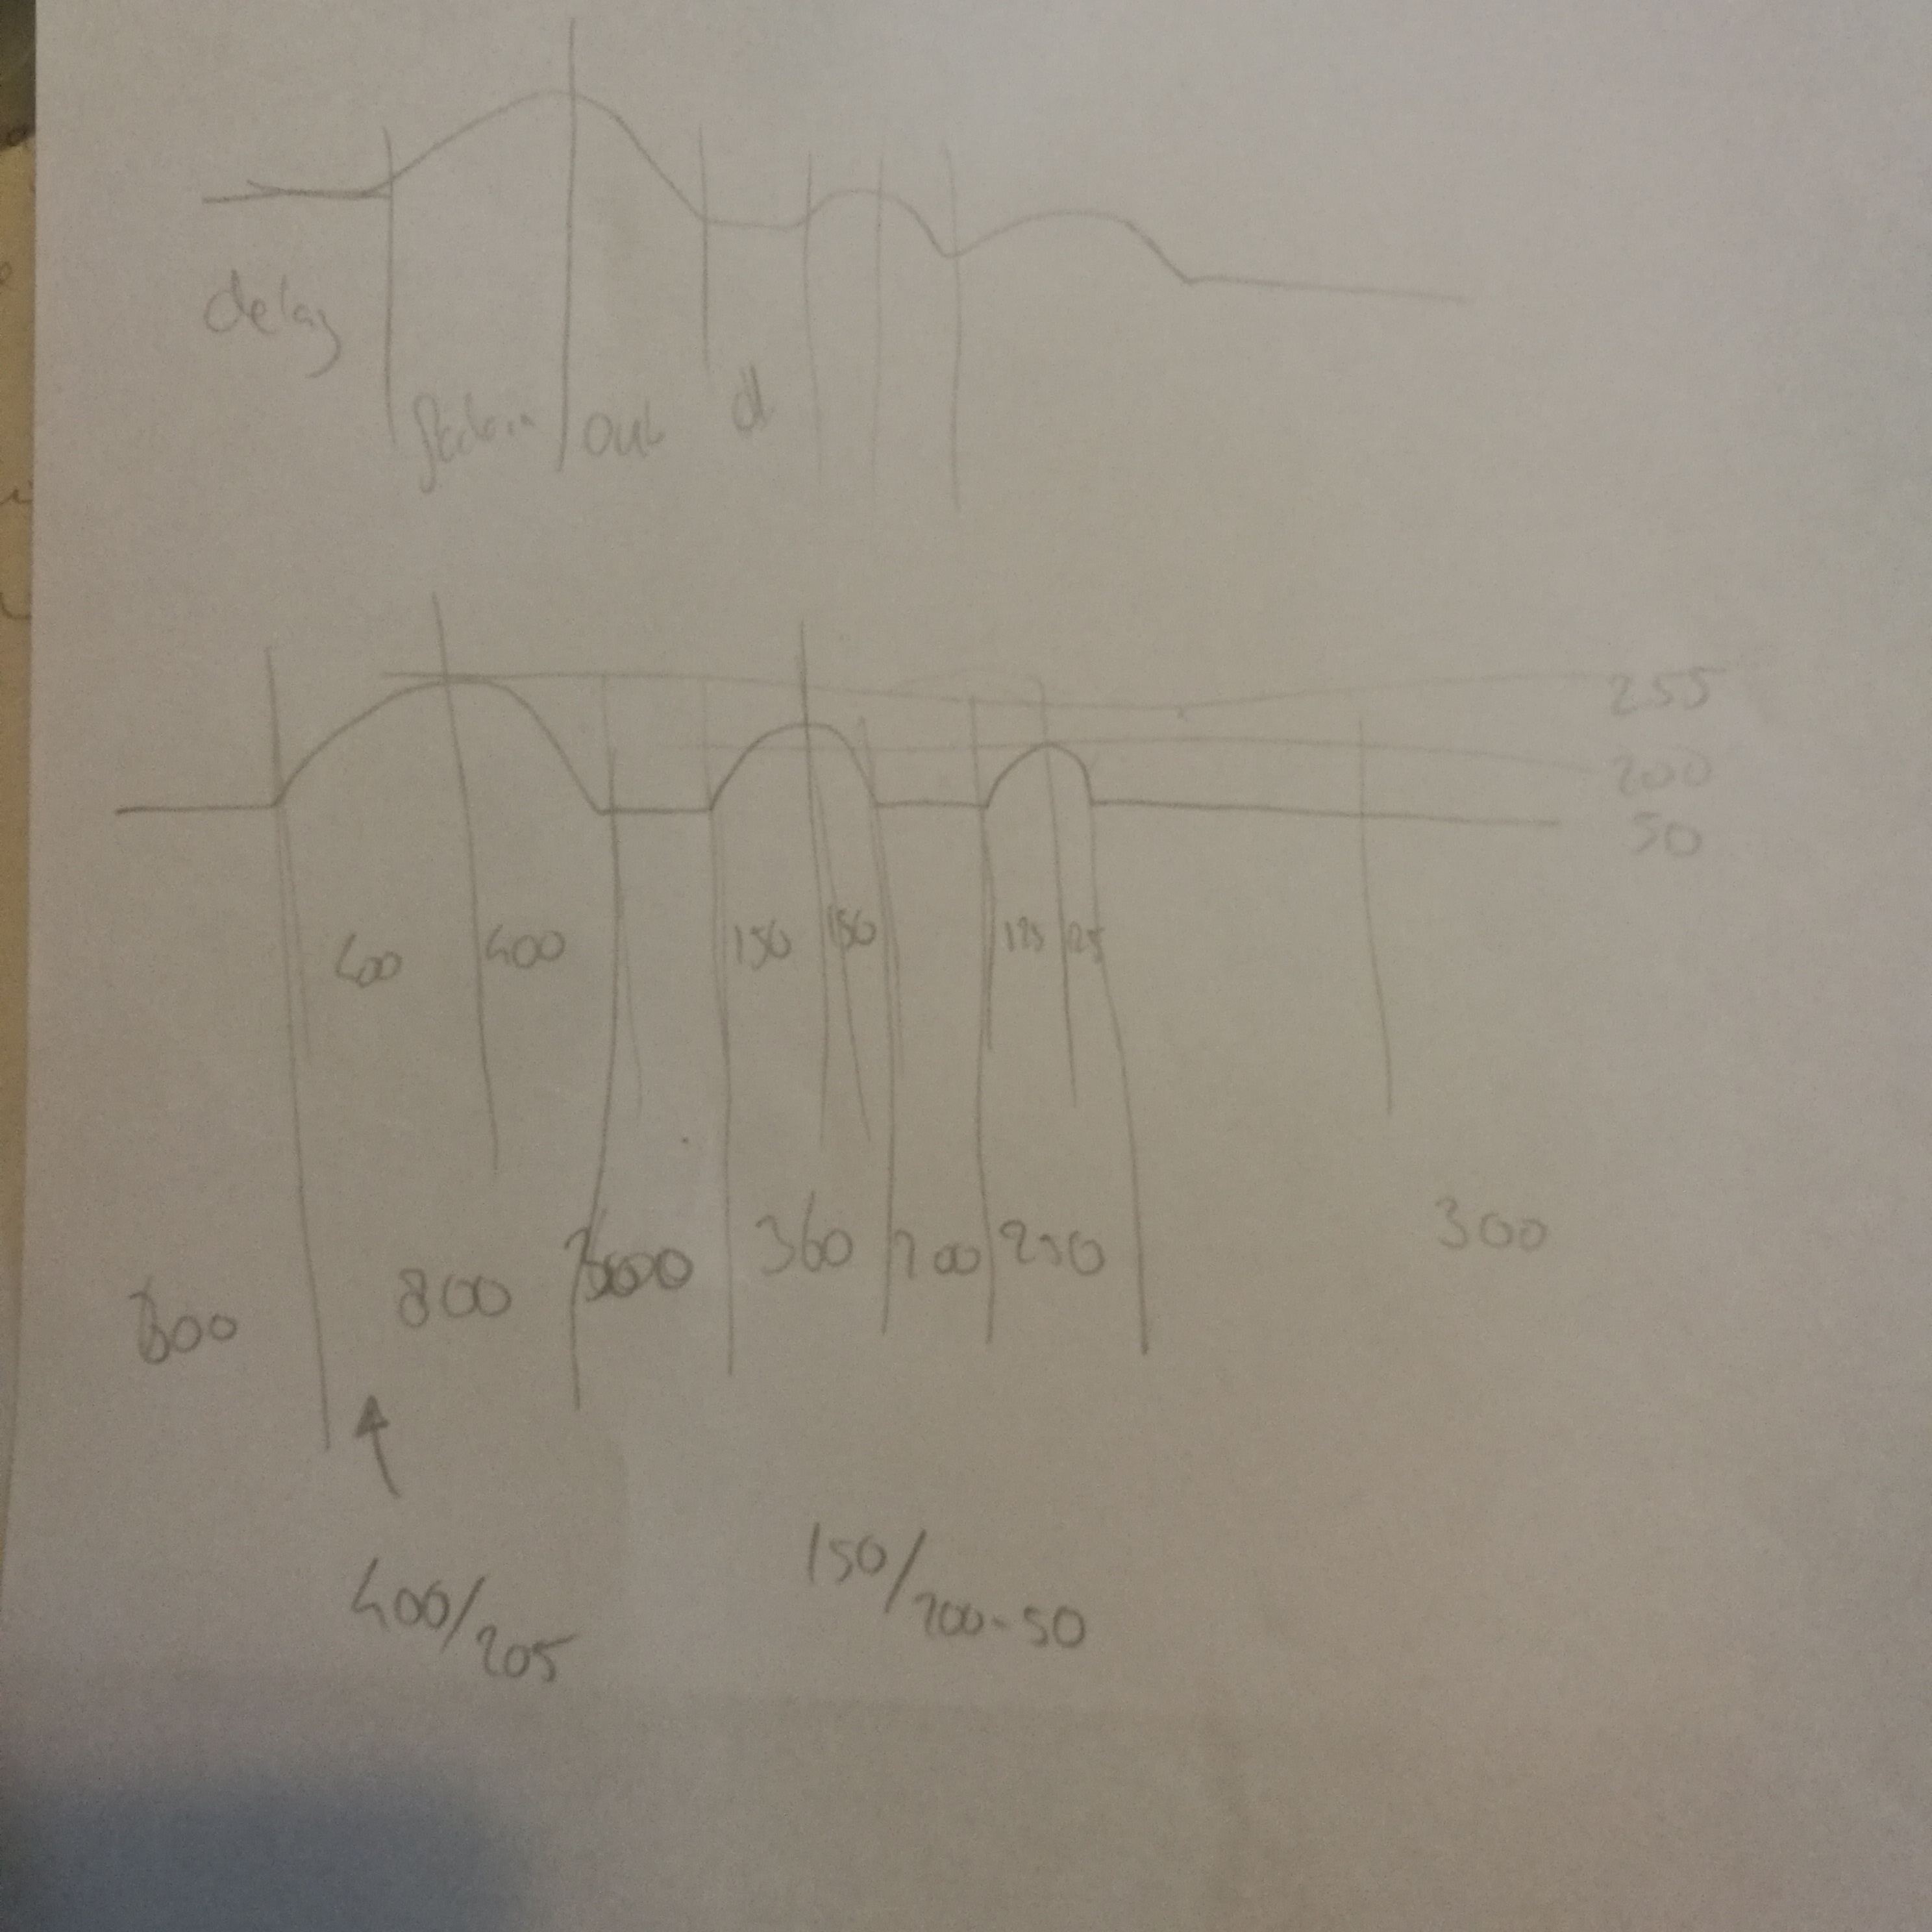
void program3(){ //ROOD
    voorspelling(voorspellingCount);

    //fade in
    for(int k = 0; k <= 80; k++) {
          ColorStrip(k,0,0,1);
    };
    // four iterations
    for(int i=0; i <= 4; i ++){
        //start hartbeat
        ColorStrip(80,0,0,1);
        delay(400);
        //beat 1
        for(int k = 80; k <= 255; k++) {
          ColorStrip(k,0,0,1);
        }
        for(int k = 255; k >= 80; k--) {
          ColorStrip(k,0,0,1);
        }
        delay(300);
        //beat 2
        for(int k = 80; k < 150; k++) {
          ColorStrip(k,0,0,1);
        }
        for(int k = 150; k >= 80; k--) {
          ColorStrip(k,0,0,1);
        }
        //beat3
        delay(150);
         for(int k = 80; k <= 200; k++) {
          ColorStrip(k,0,0,1);
        }
        for(int k = 200; k >= 80; k--) {
          ColorStrip(k,0,0,1);
        }
    };
    for(int k = 80; k >= 0; k--) {
          ColorStrip(k,0,0,4);
        }
    reset();
}
More pics

 ]
]
]
 ]
]